Tribes
Join, leave, create and grow a new tribe (or a community) with the tribes smart module.
Tribes allows you to build communities that people can join or leave at any time. These tribes can be anything at all like teams, animals, anime characters, hobbies, or interests. Below are the steps you'll need to take to join, leave, or add a tribe to your community.
info
Follow the Environment Setup Guide and install the Tribes module before getting started with this application.
Join a Tribe
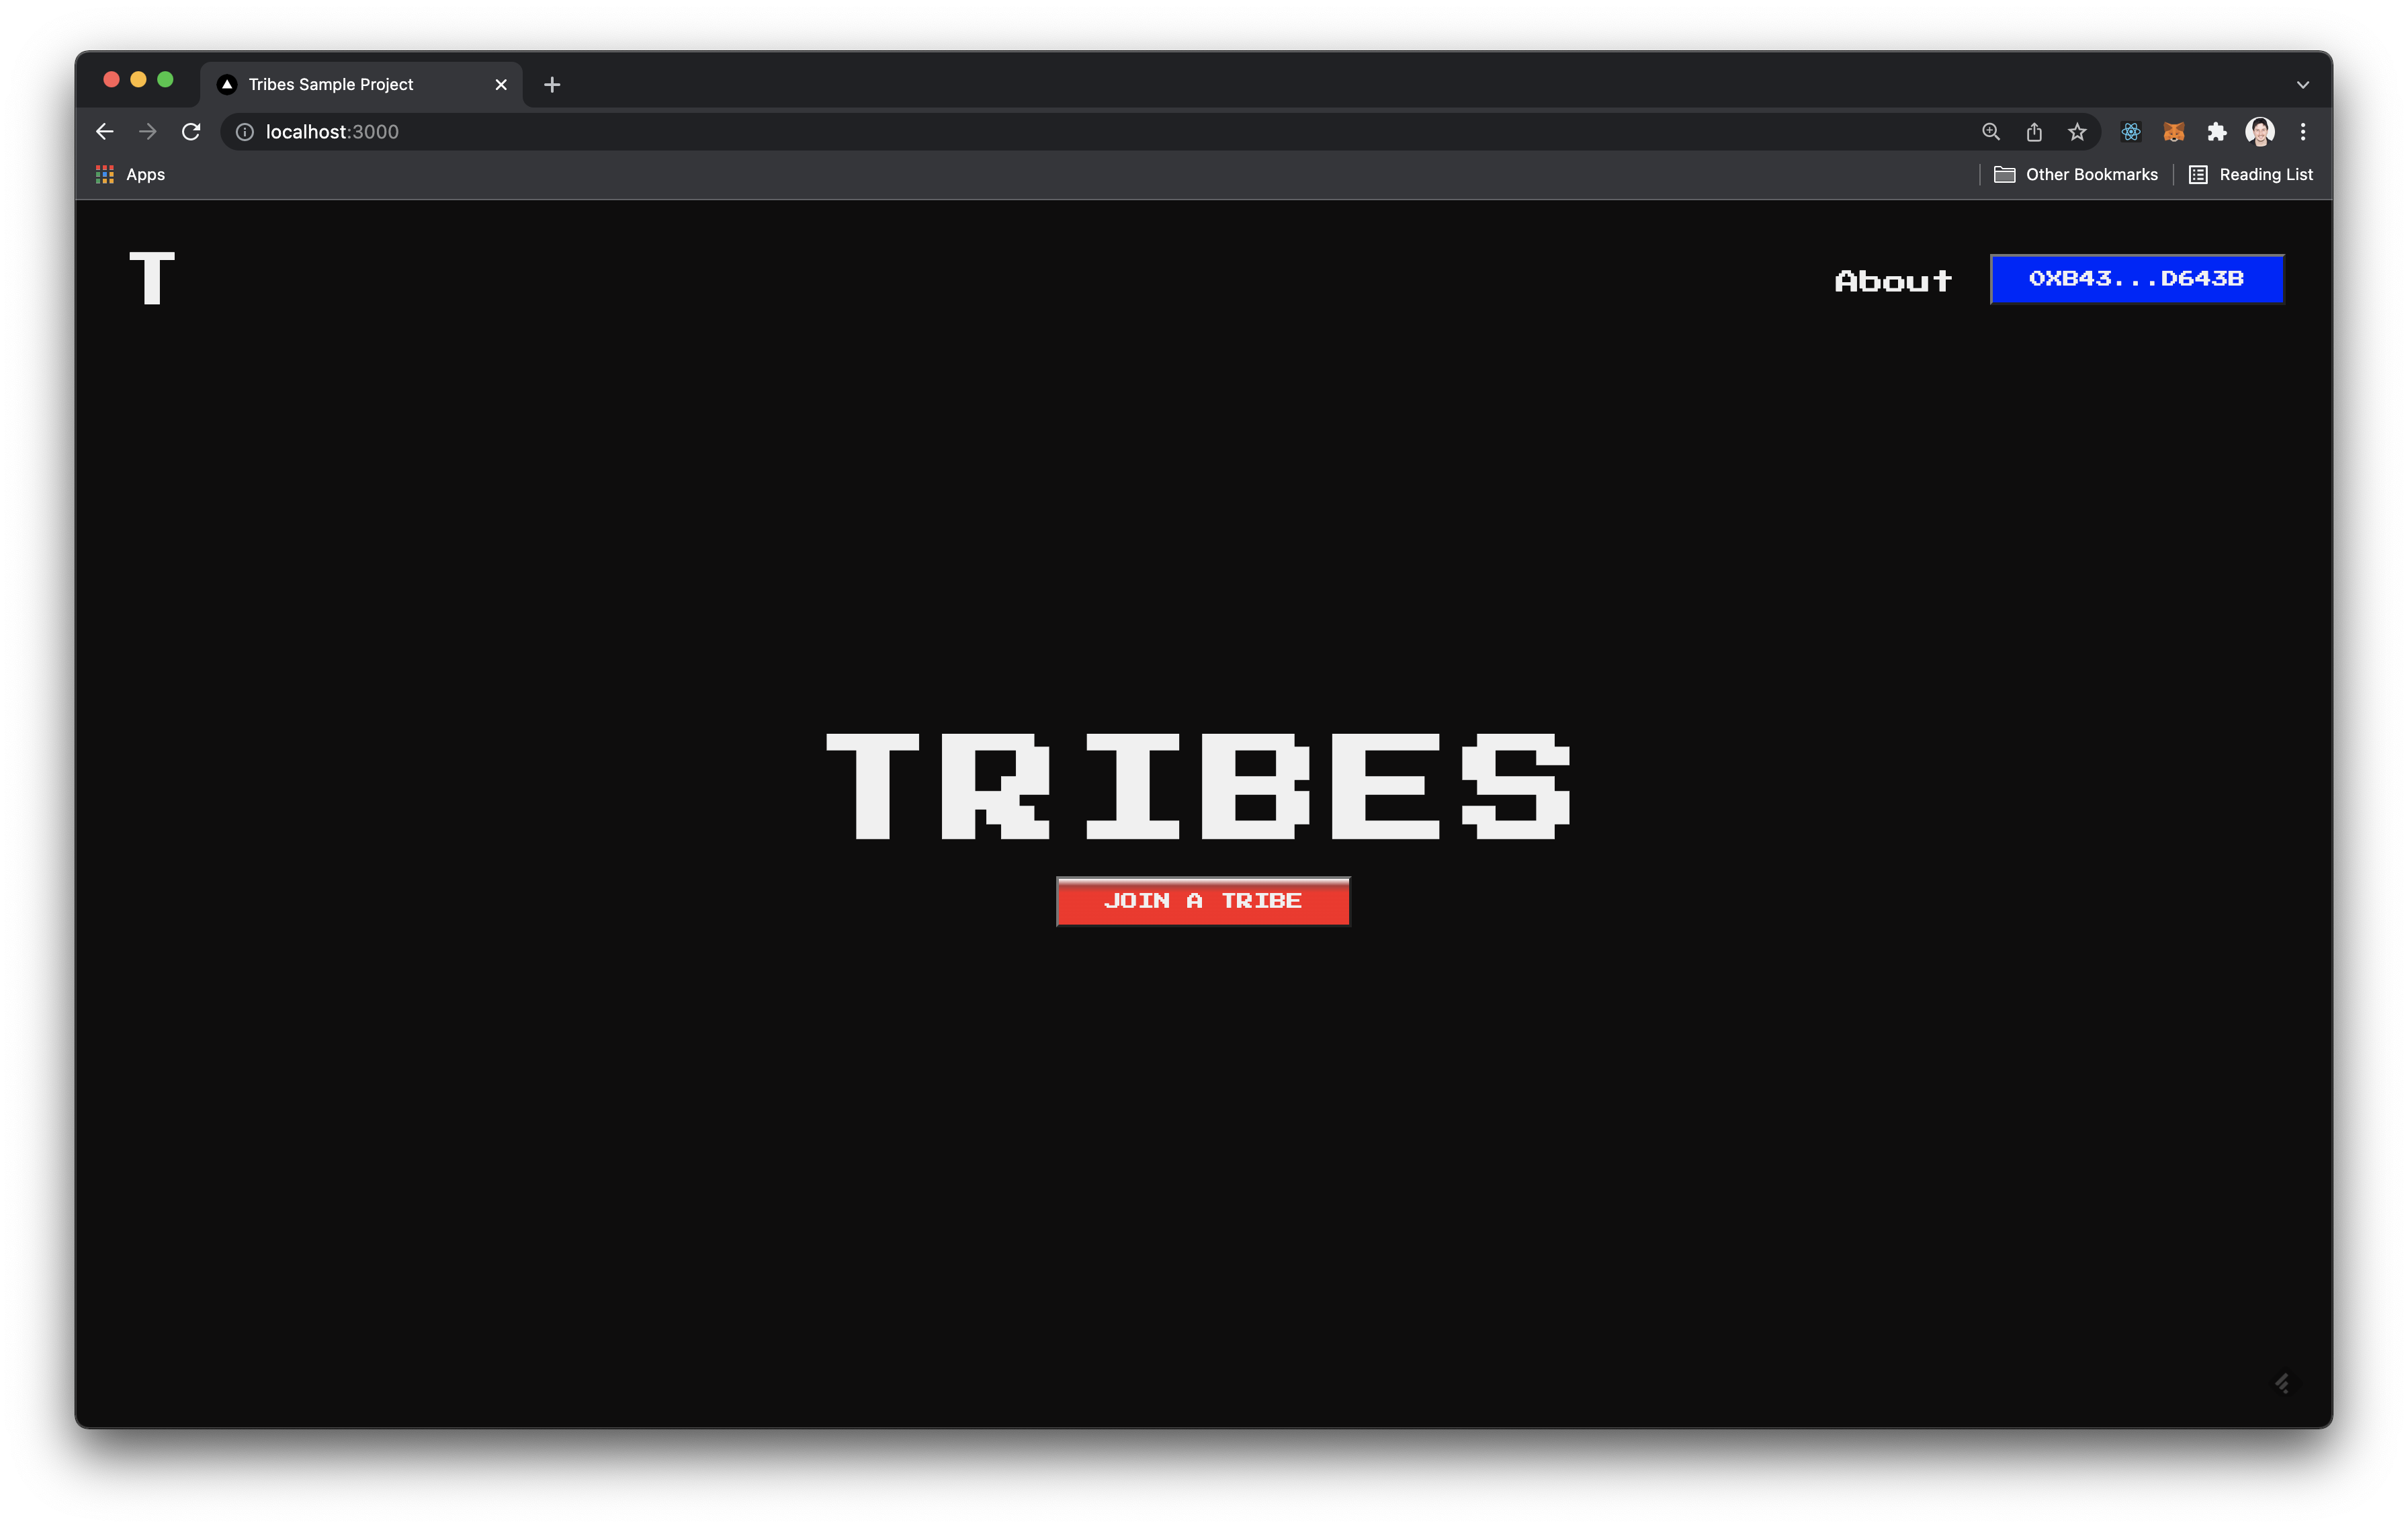
Navigate to localhost:3000 to view the Tribes application.
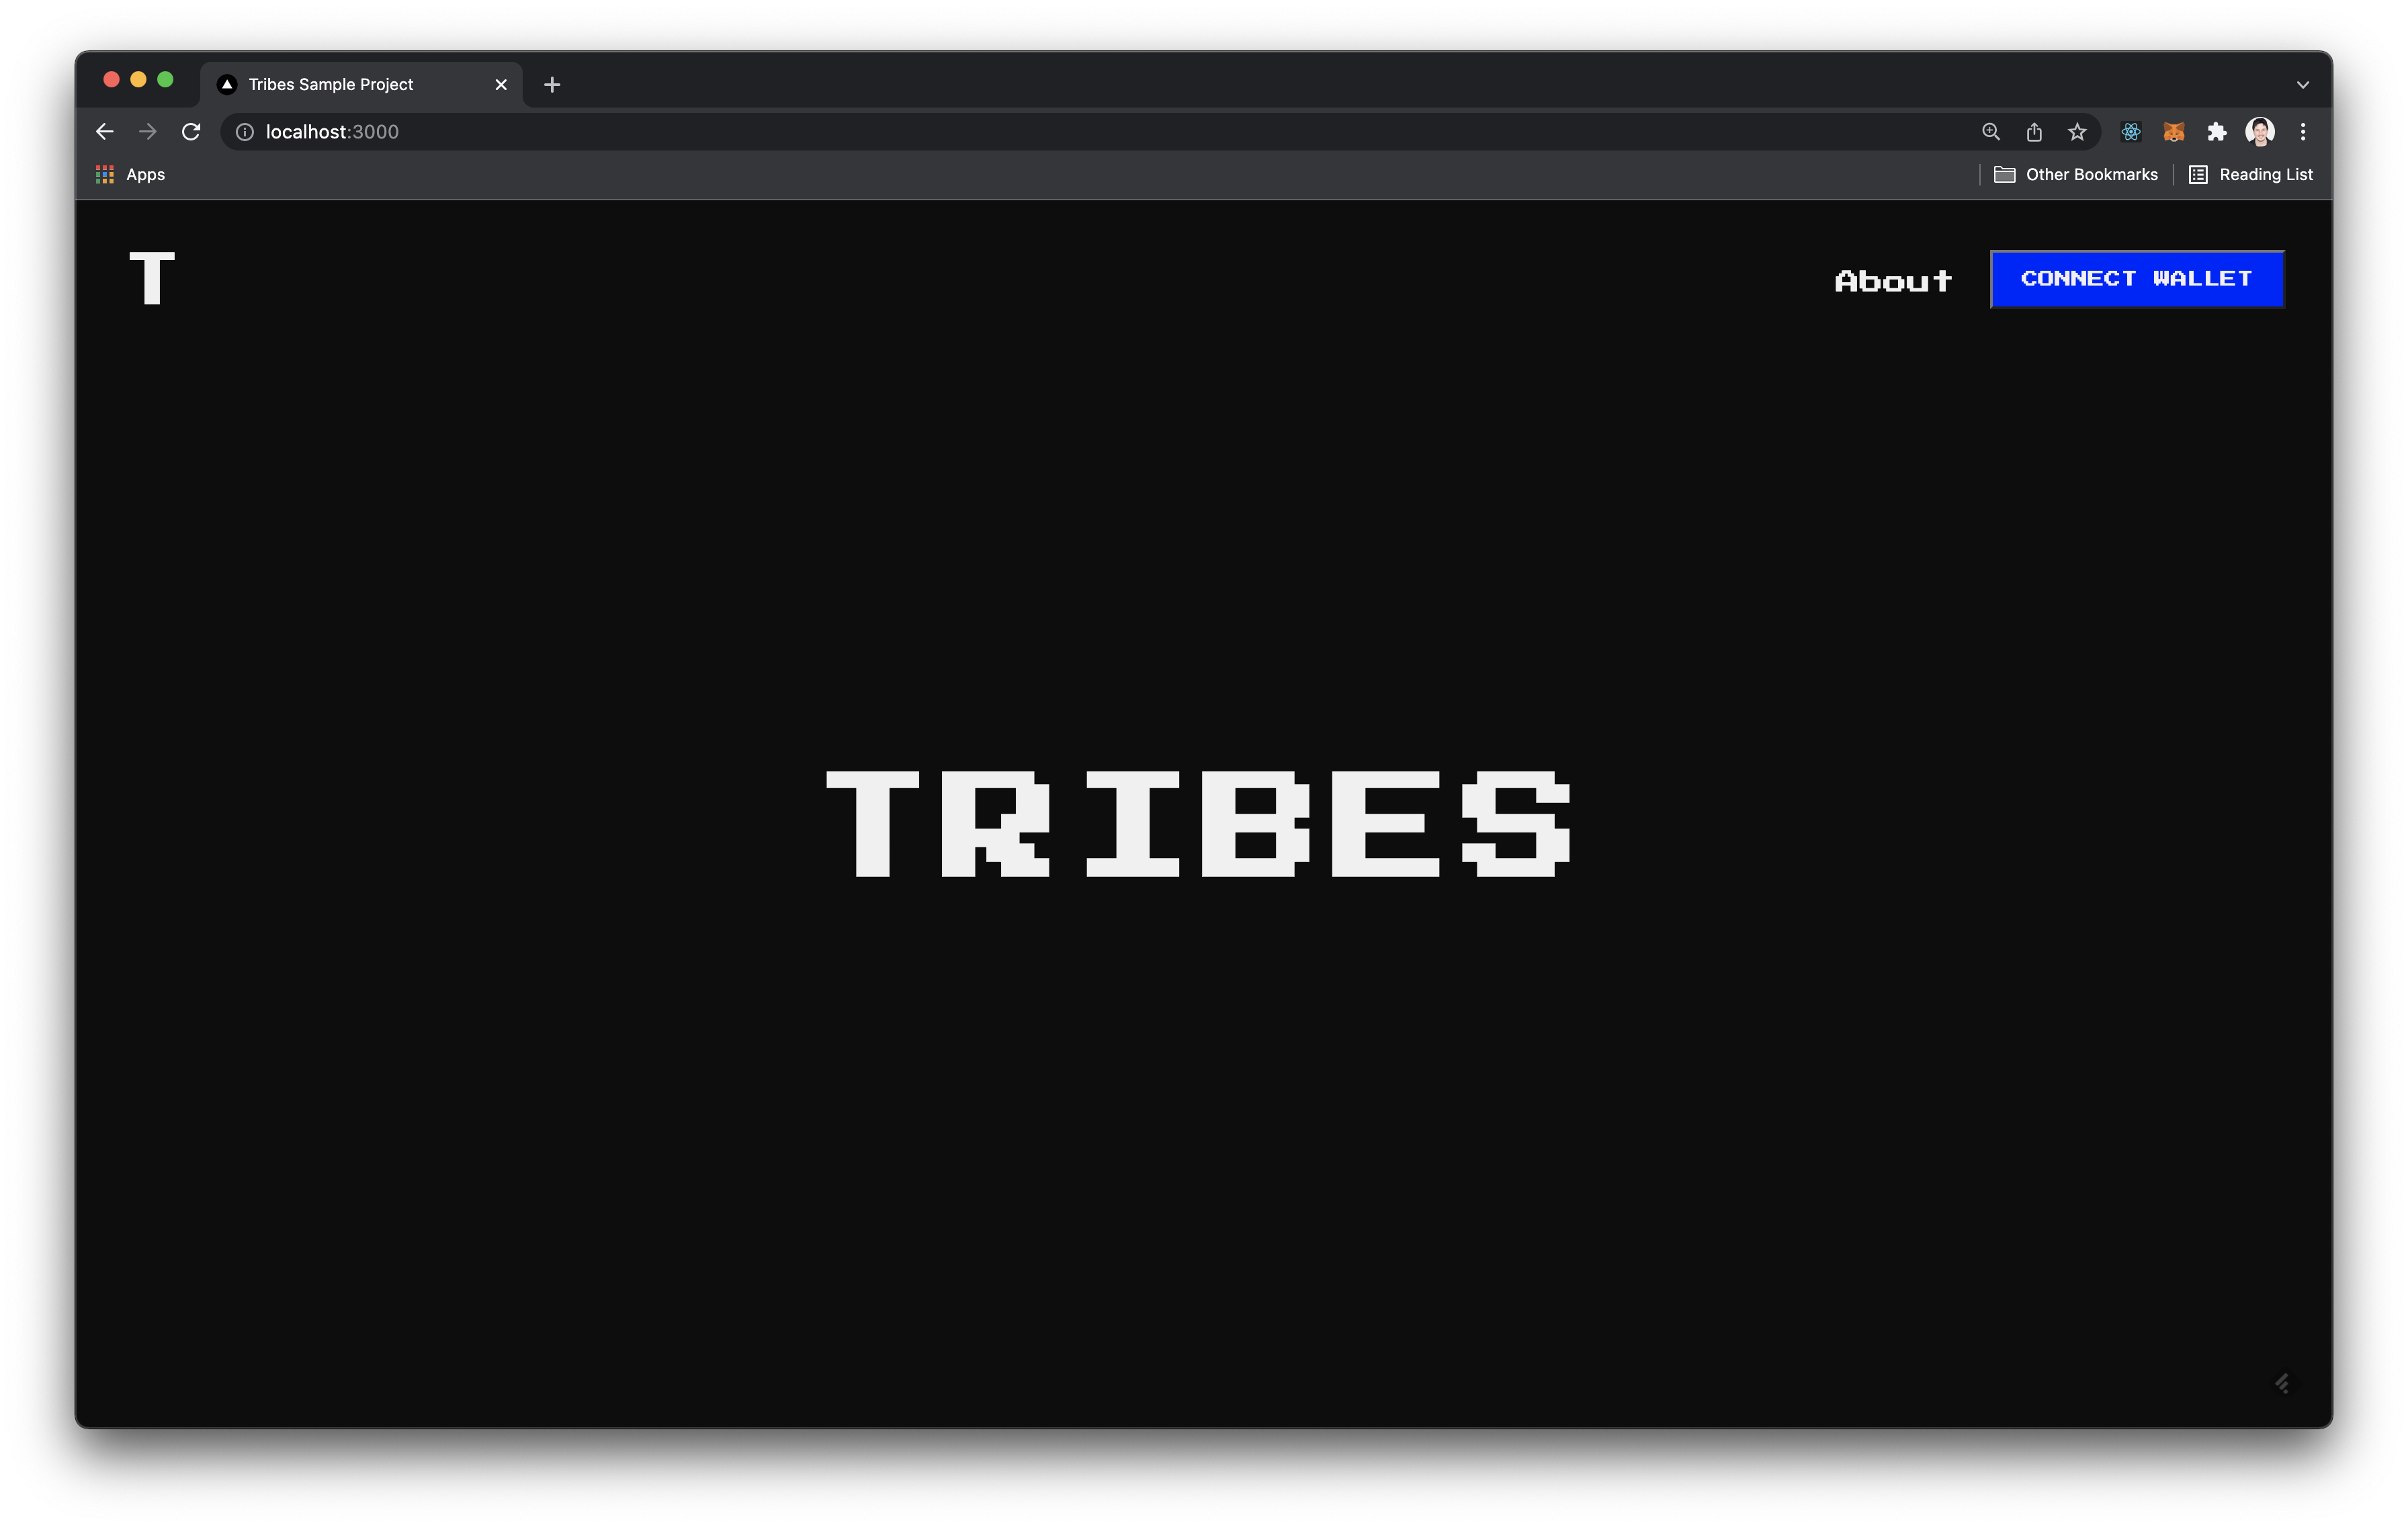
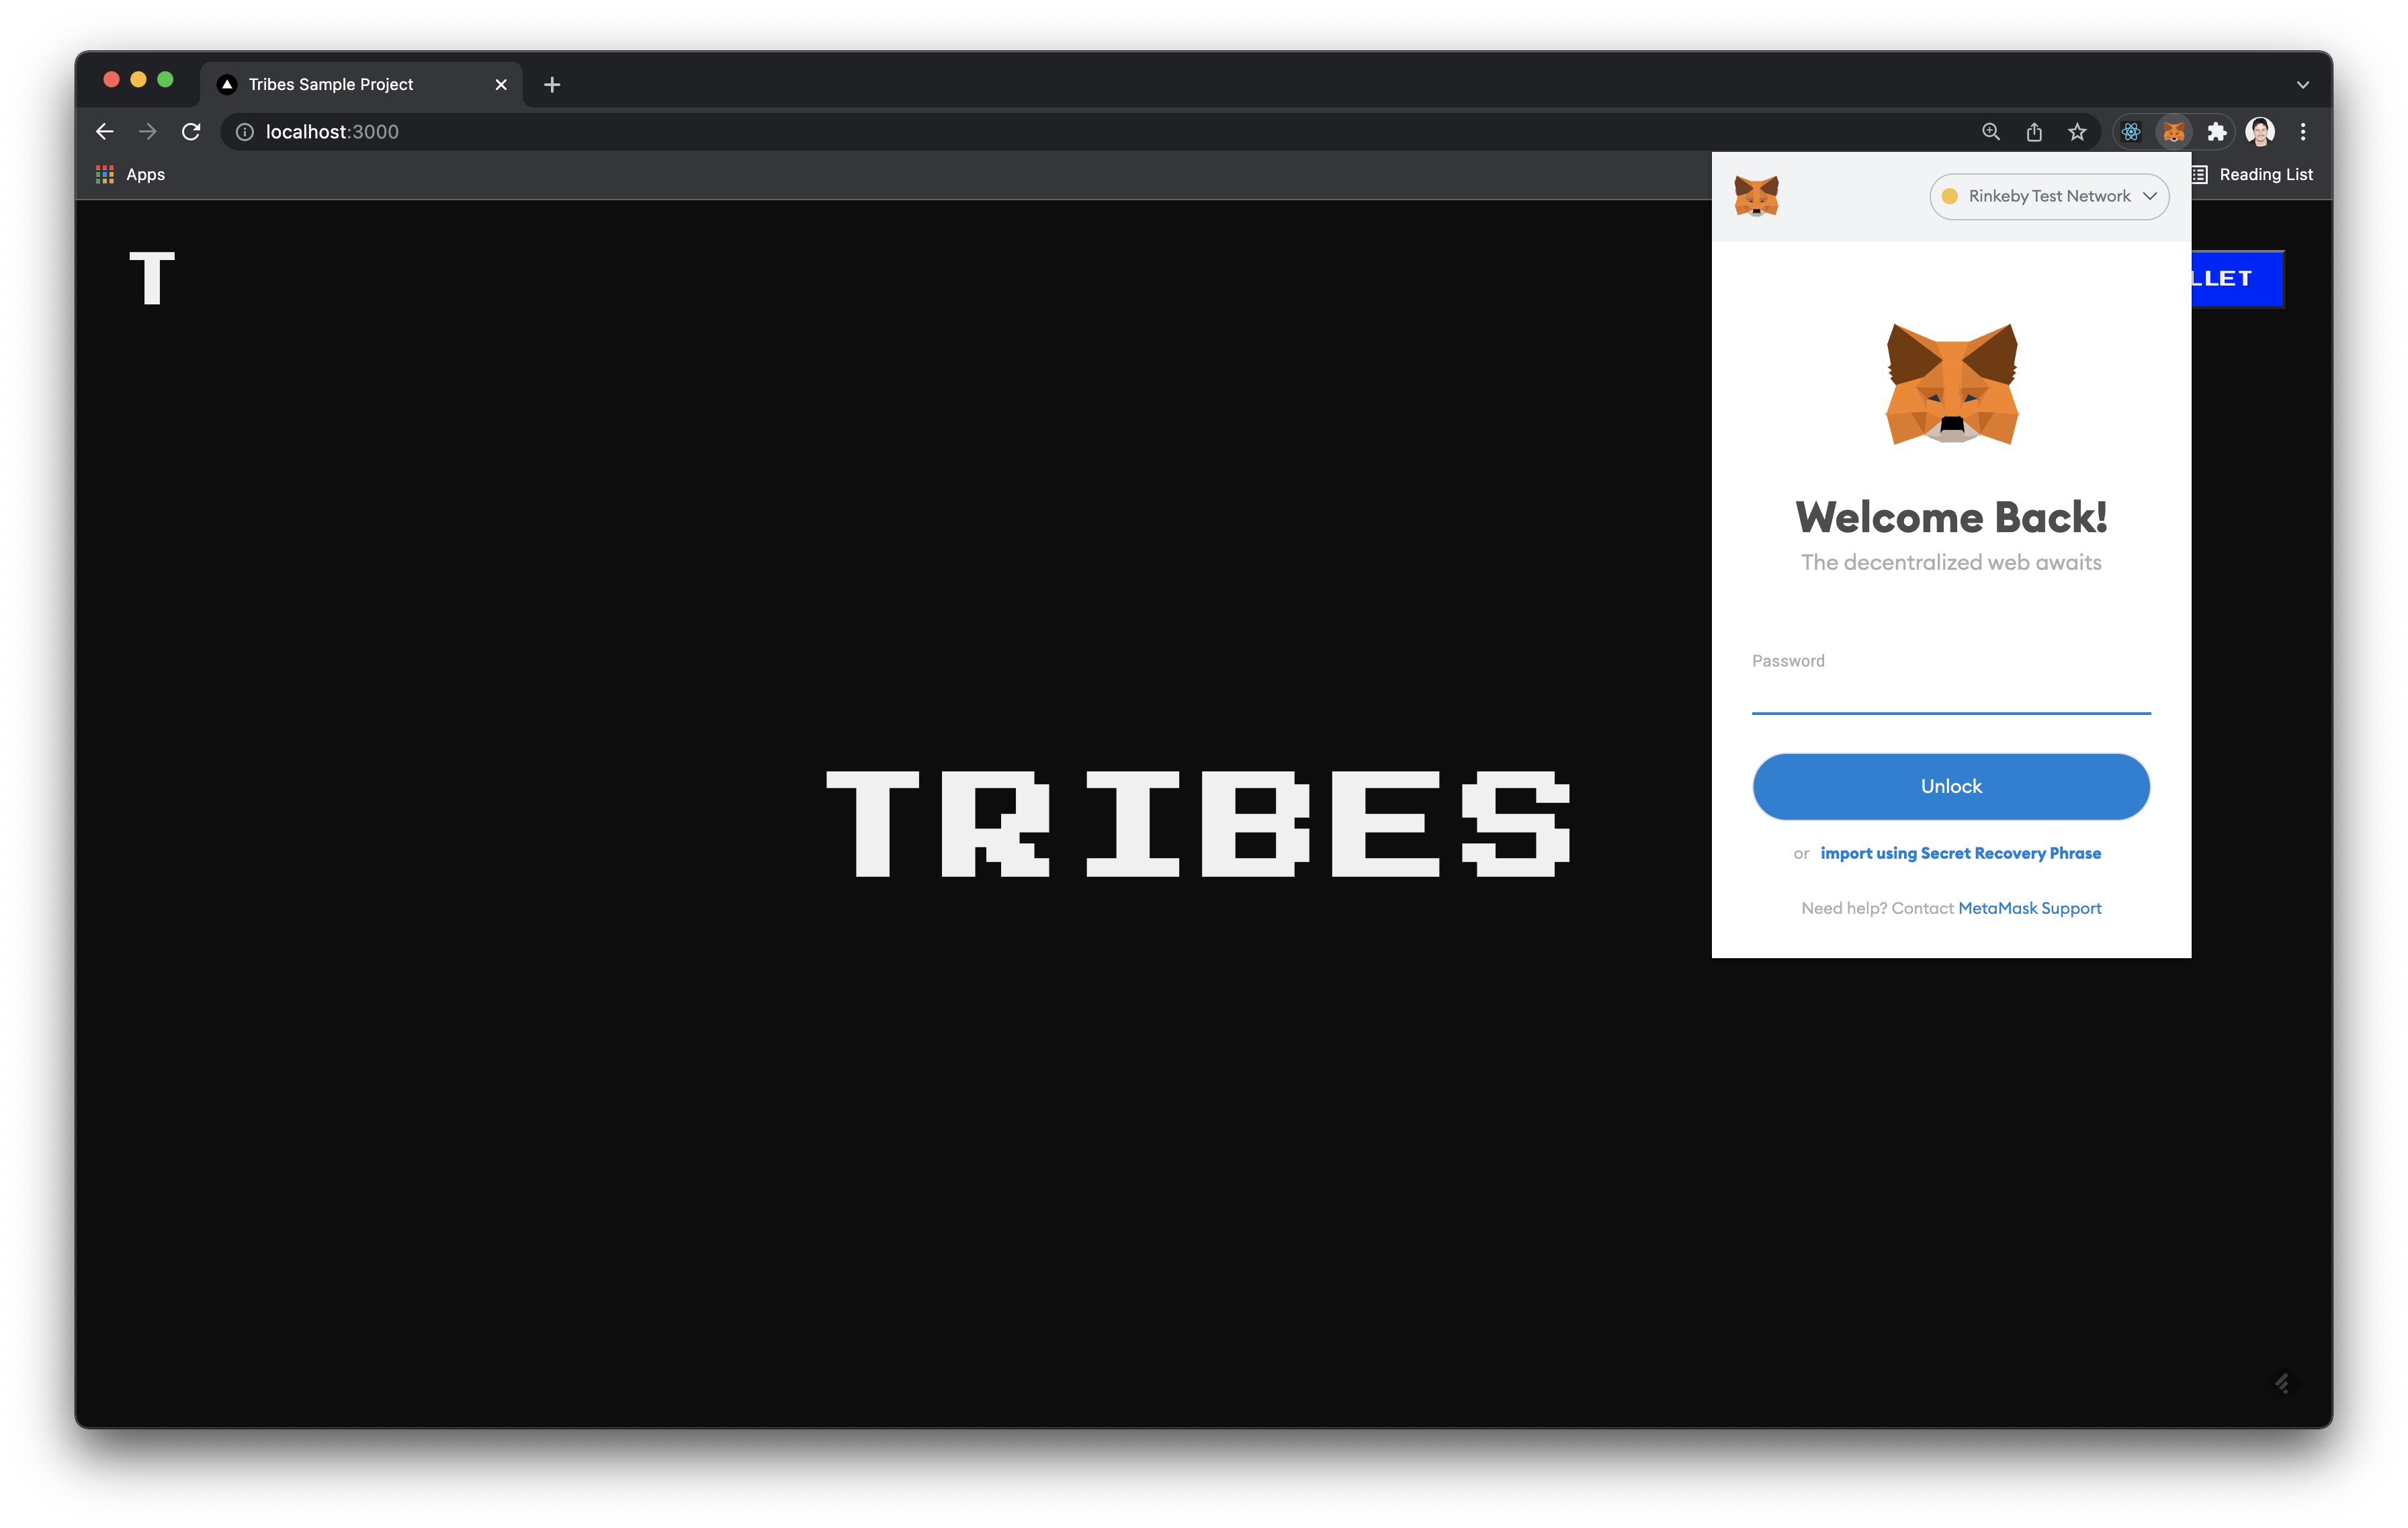
Connect your wallet to the appropriate test network using the Connect Wallet Button. (example: Ethereum Rinkeby Testnet)
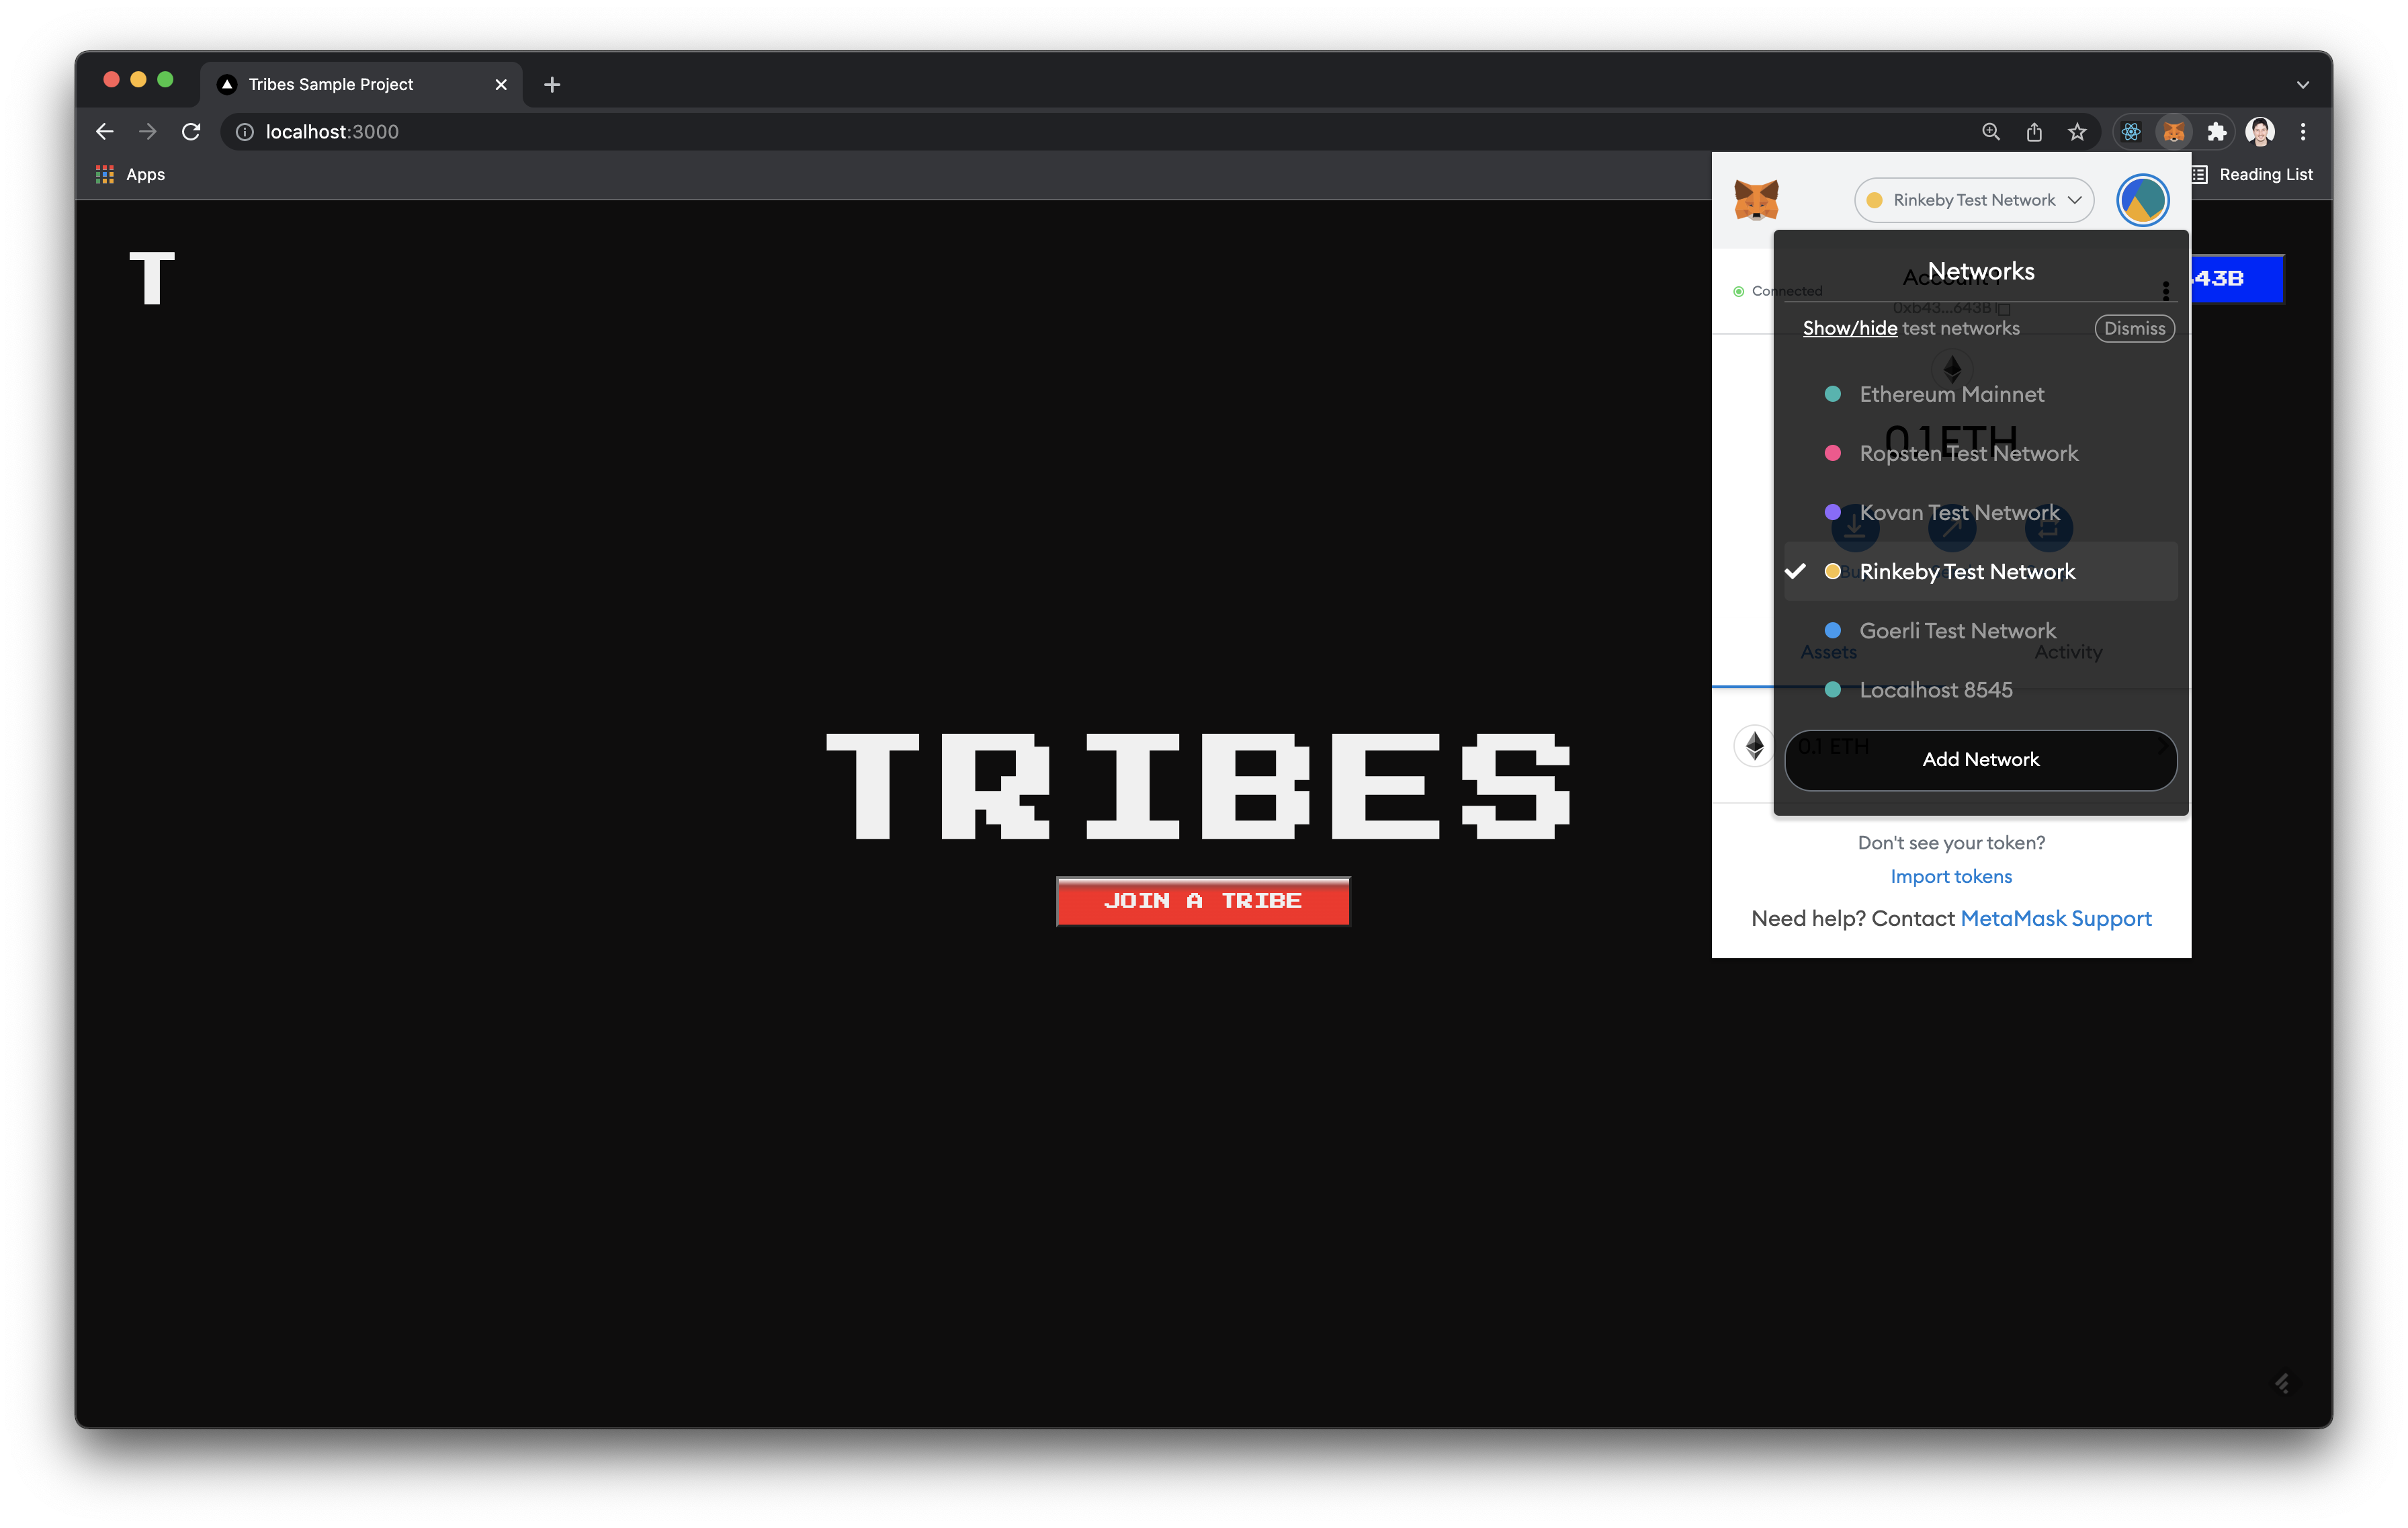
Select the Join a Tribe button that appeared after connecting your wallet.
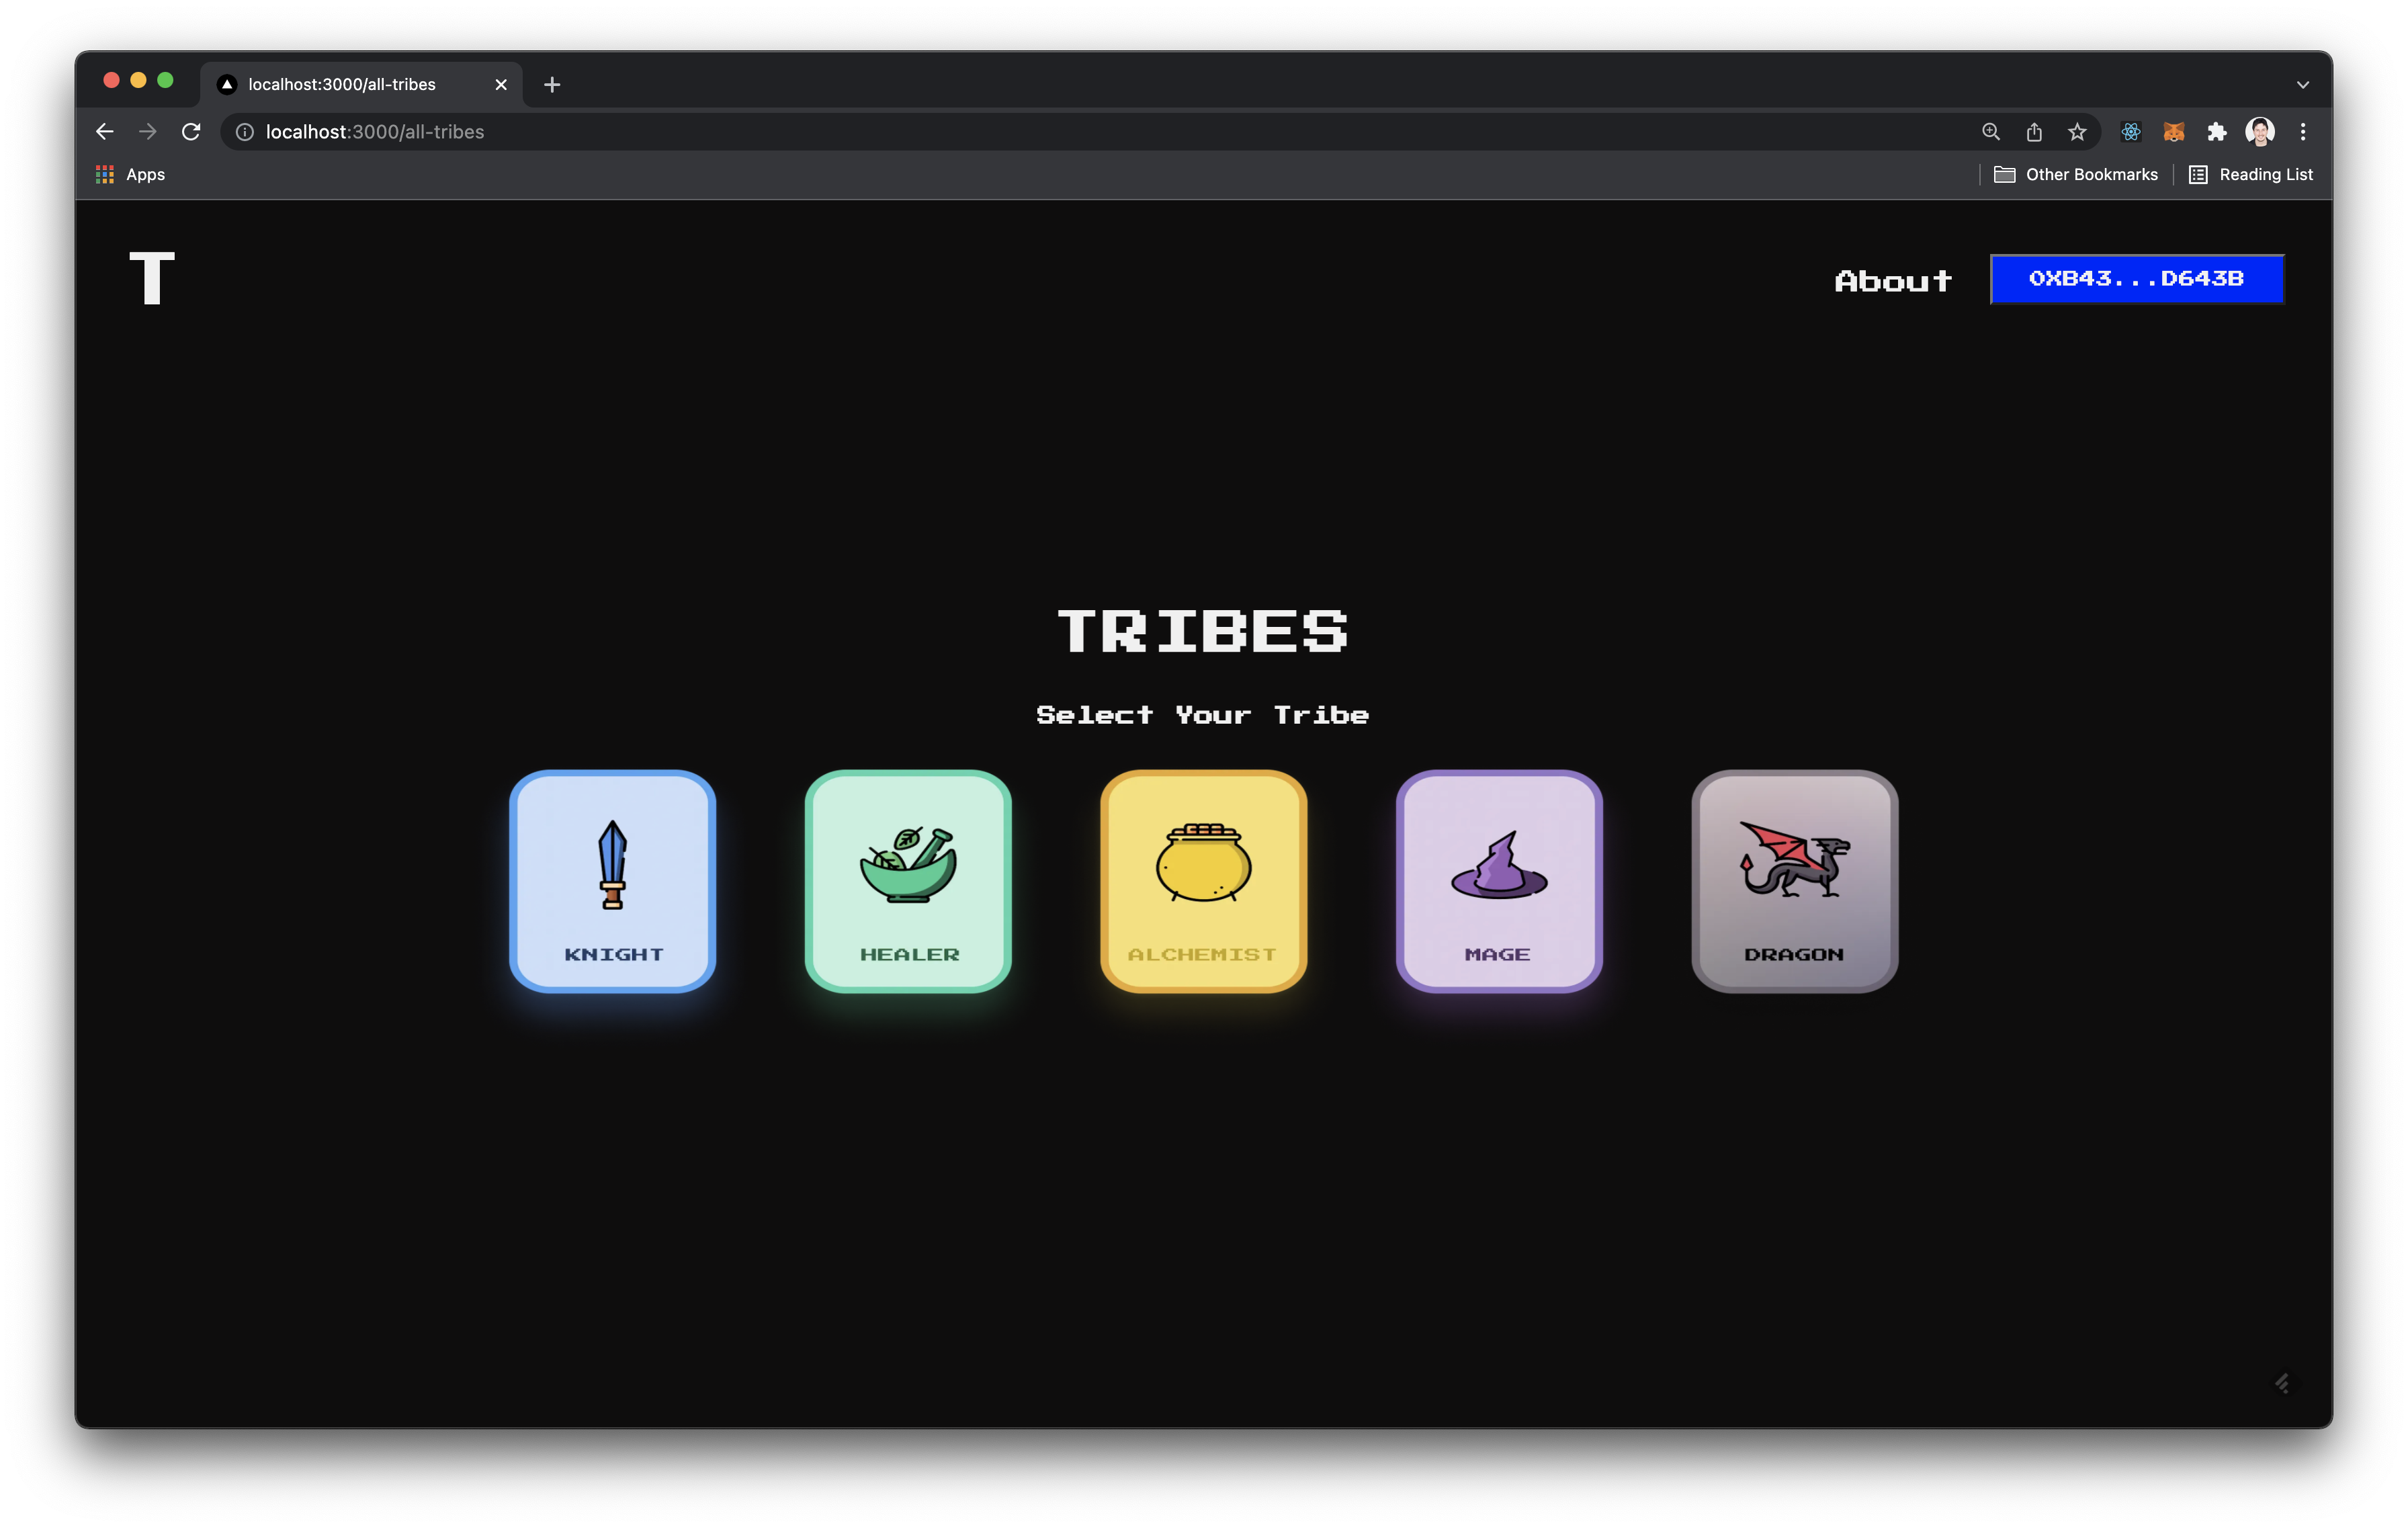
Select from one of the default tribes options provided.
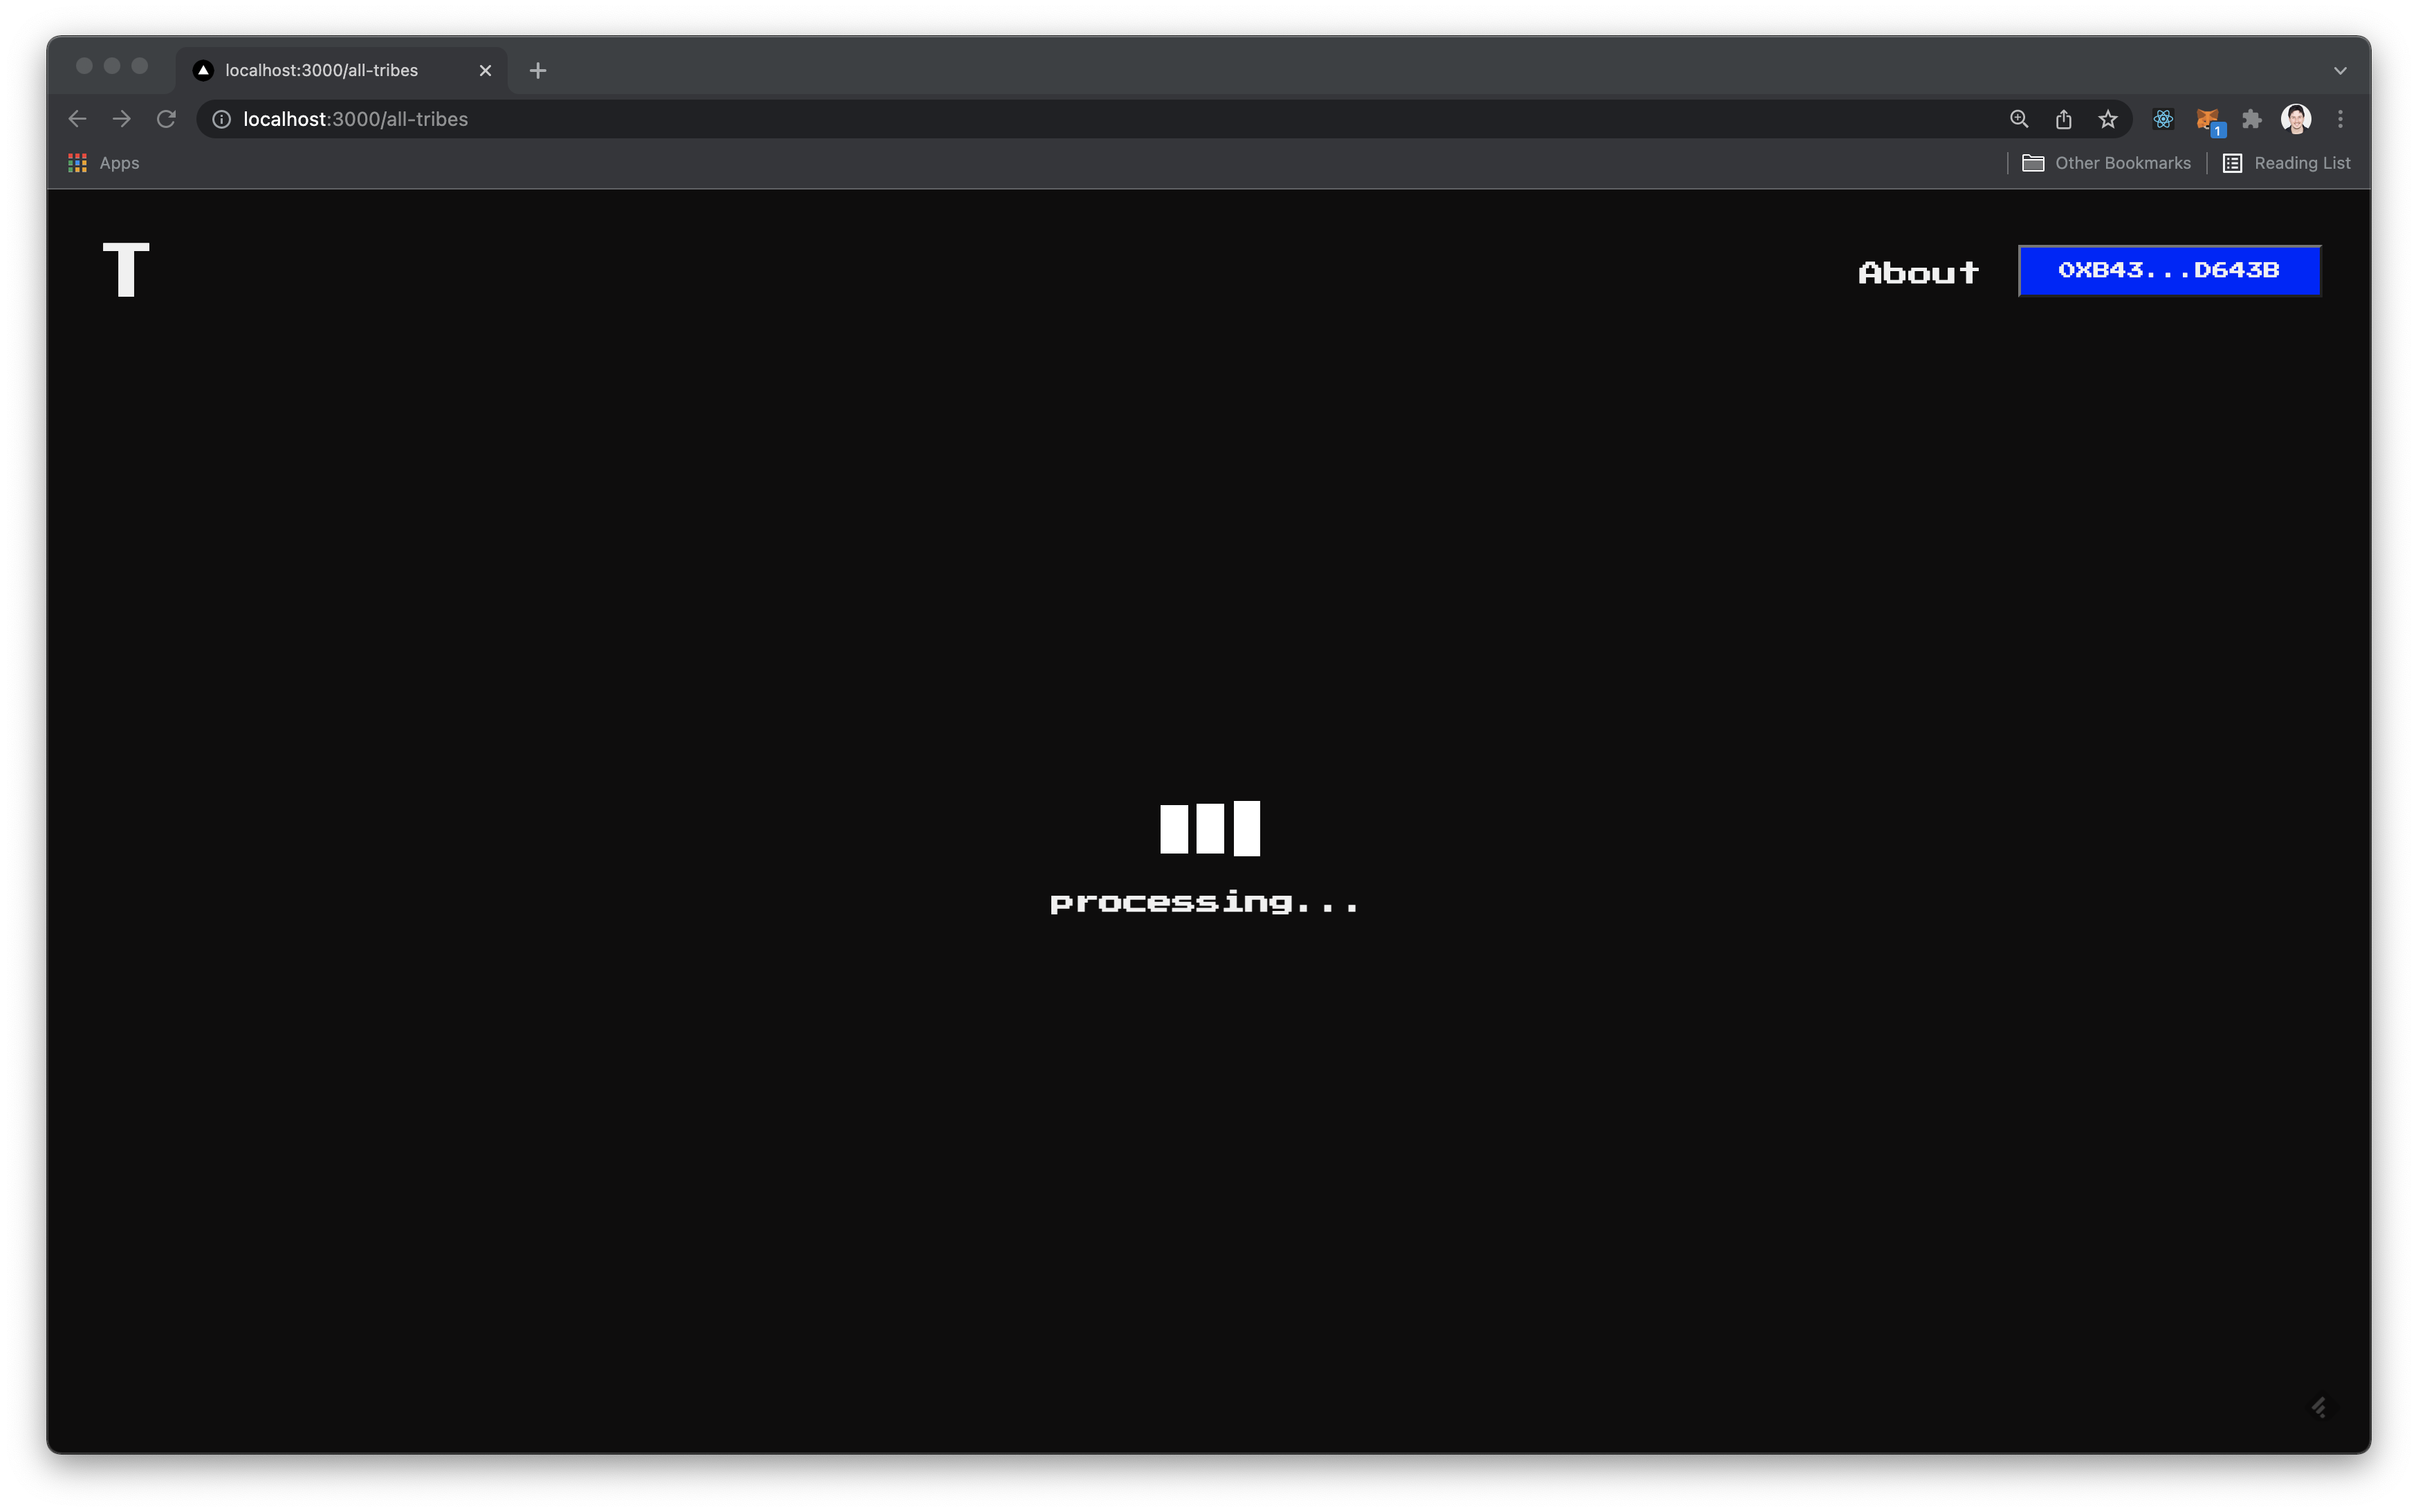
Confirm the transaction and wait for the transaction to process.
You are now a member of the tribe you chose.
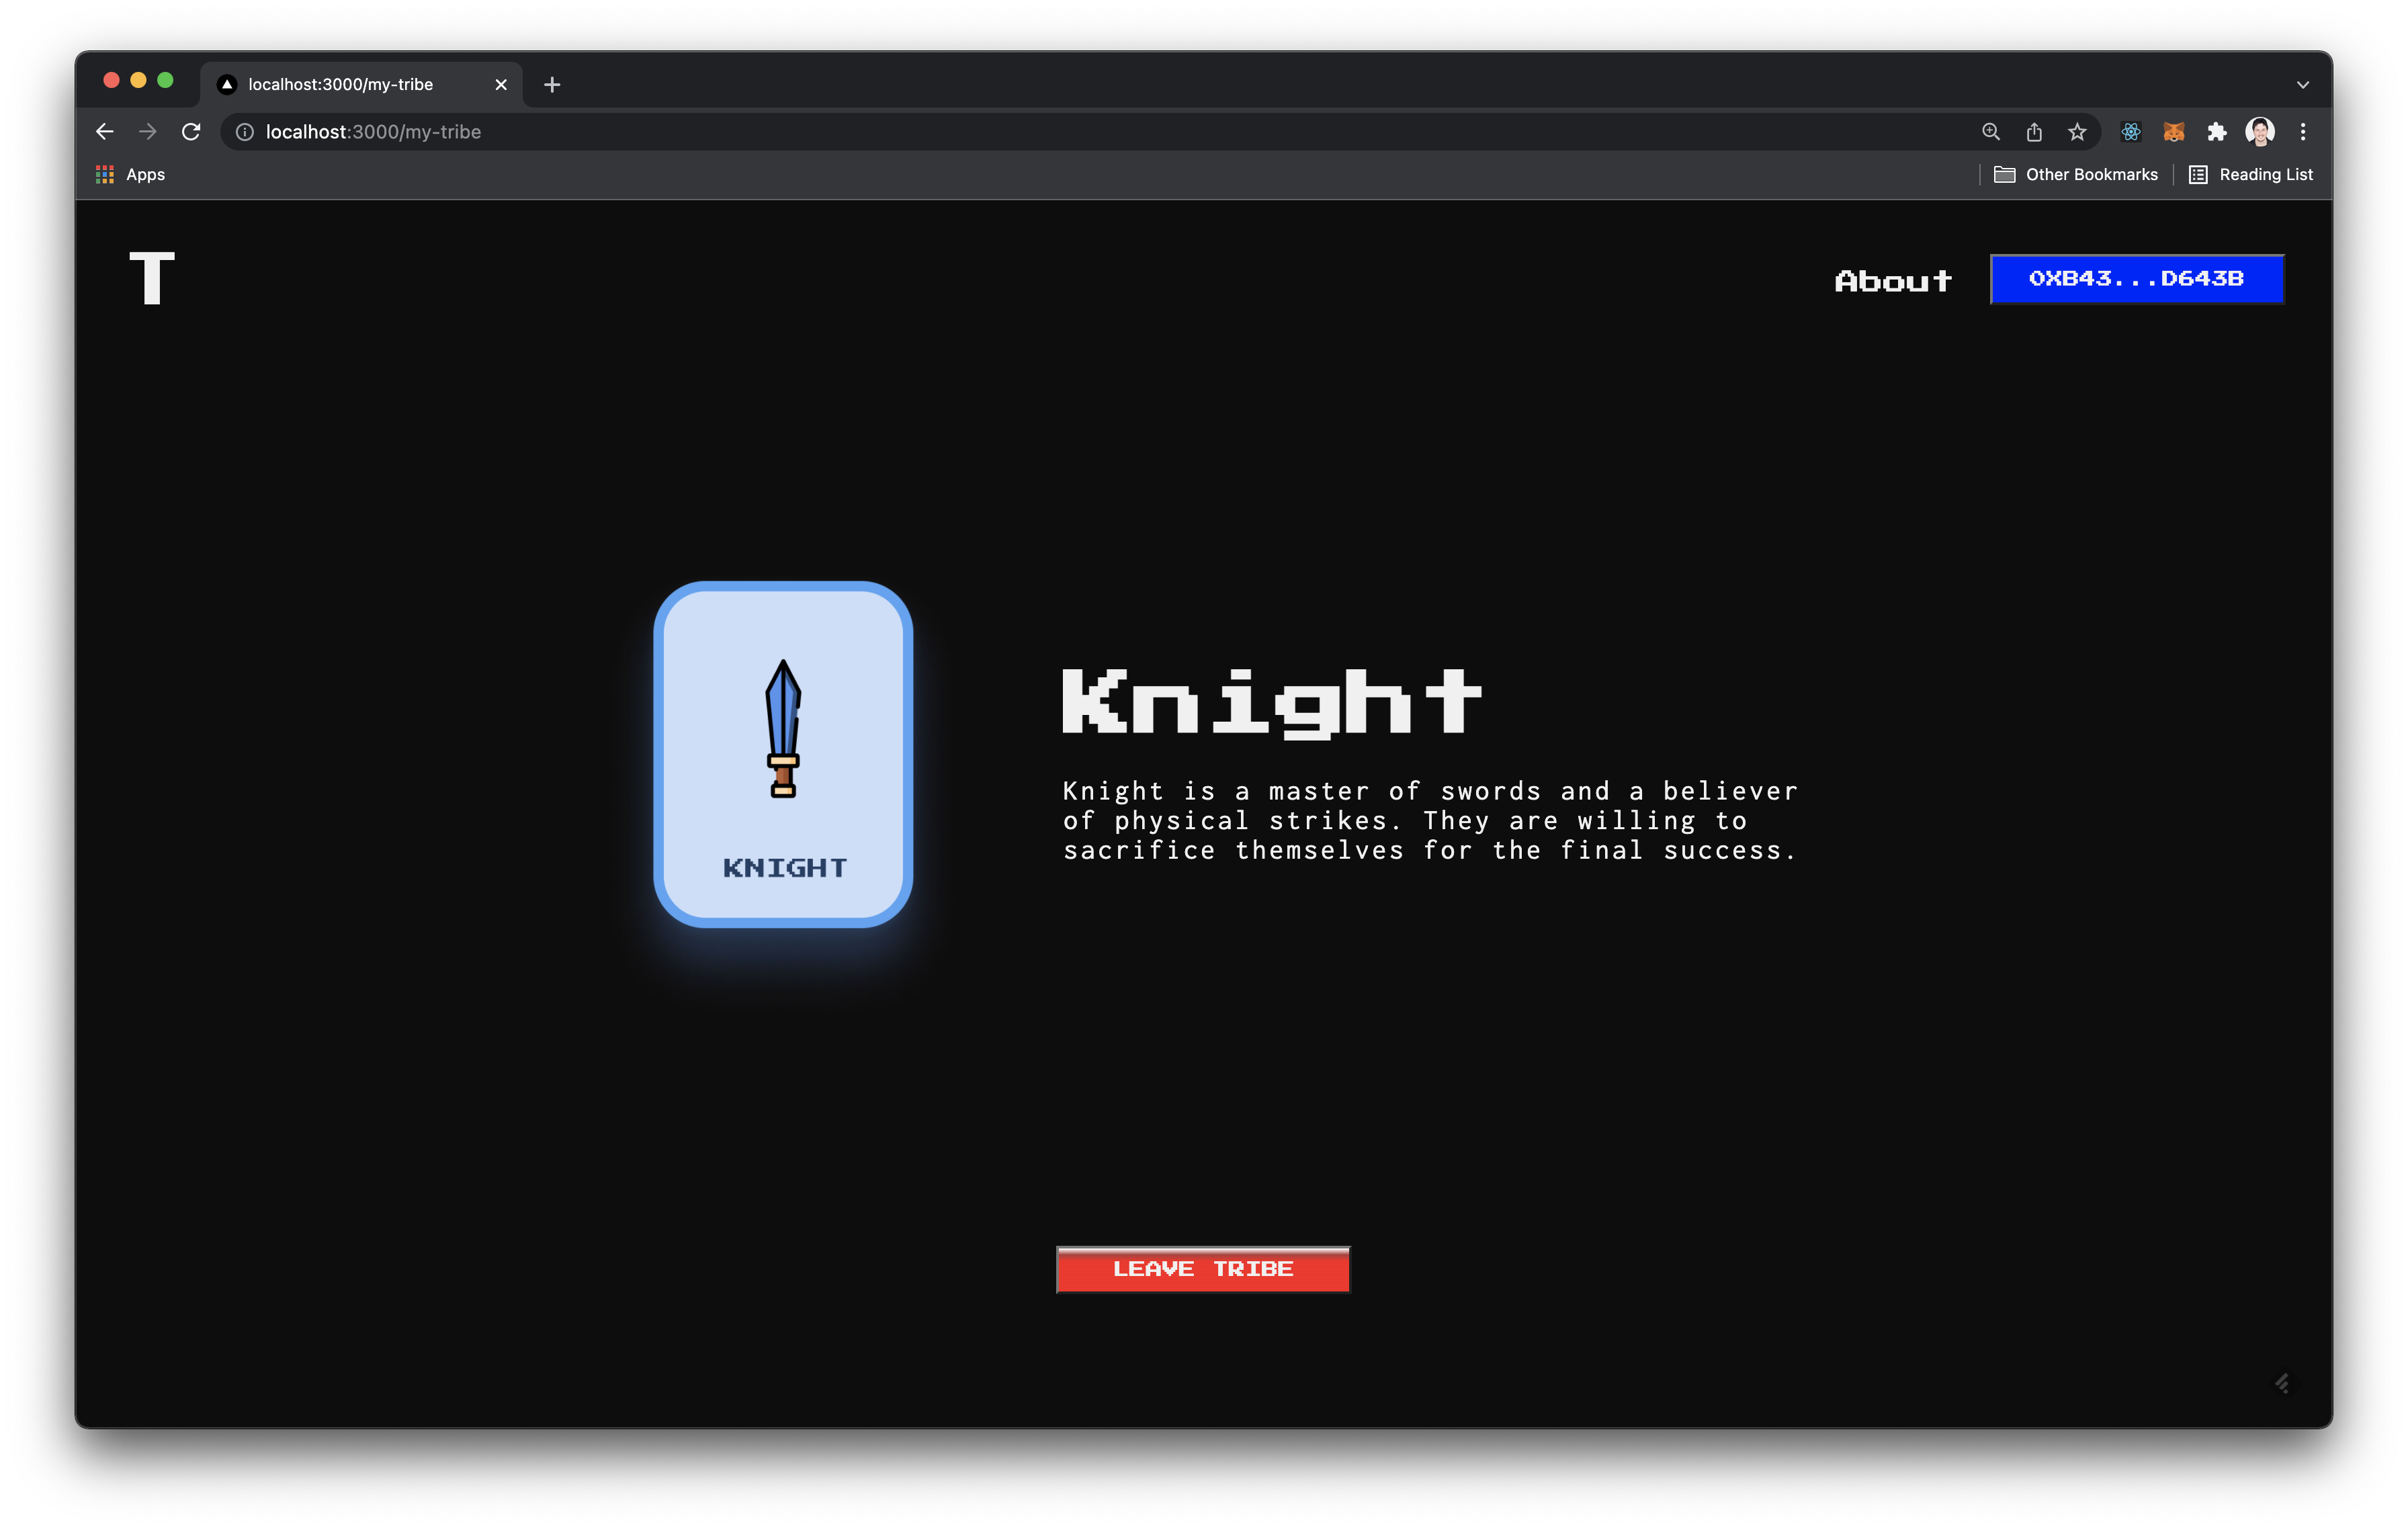
Leave a Tribe
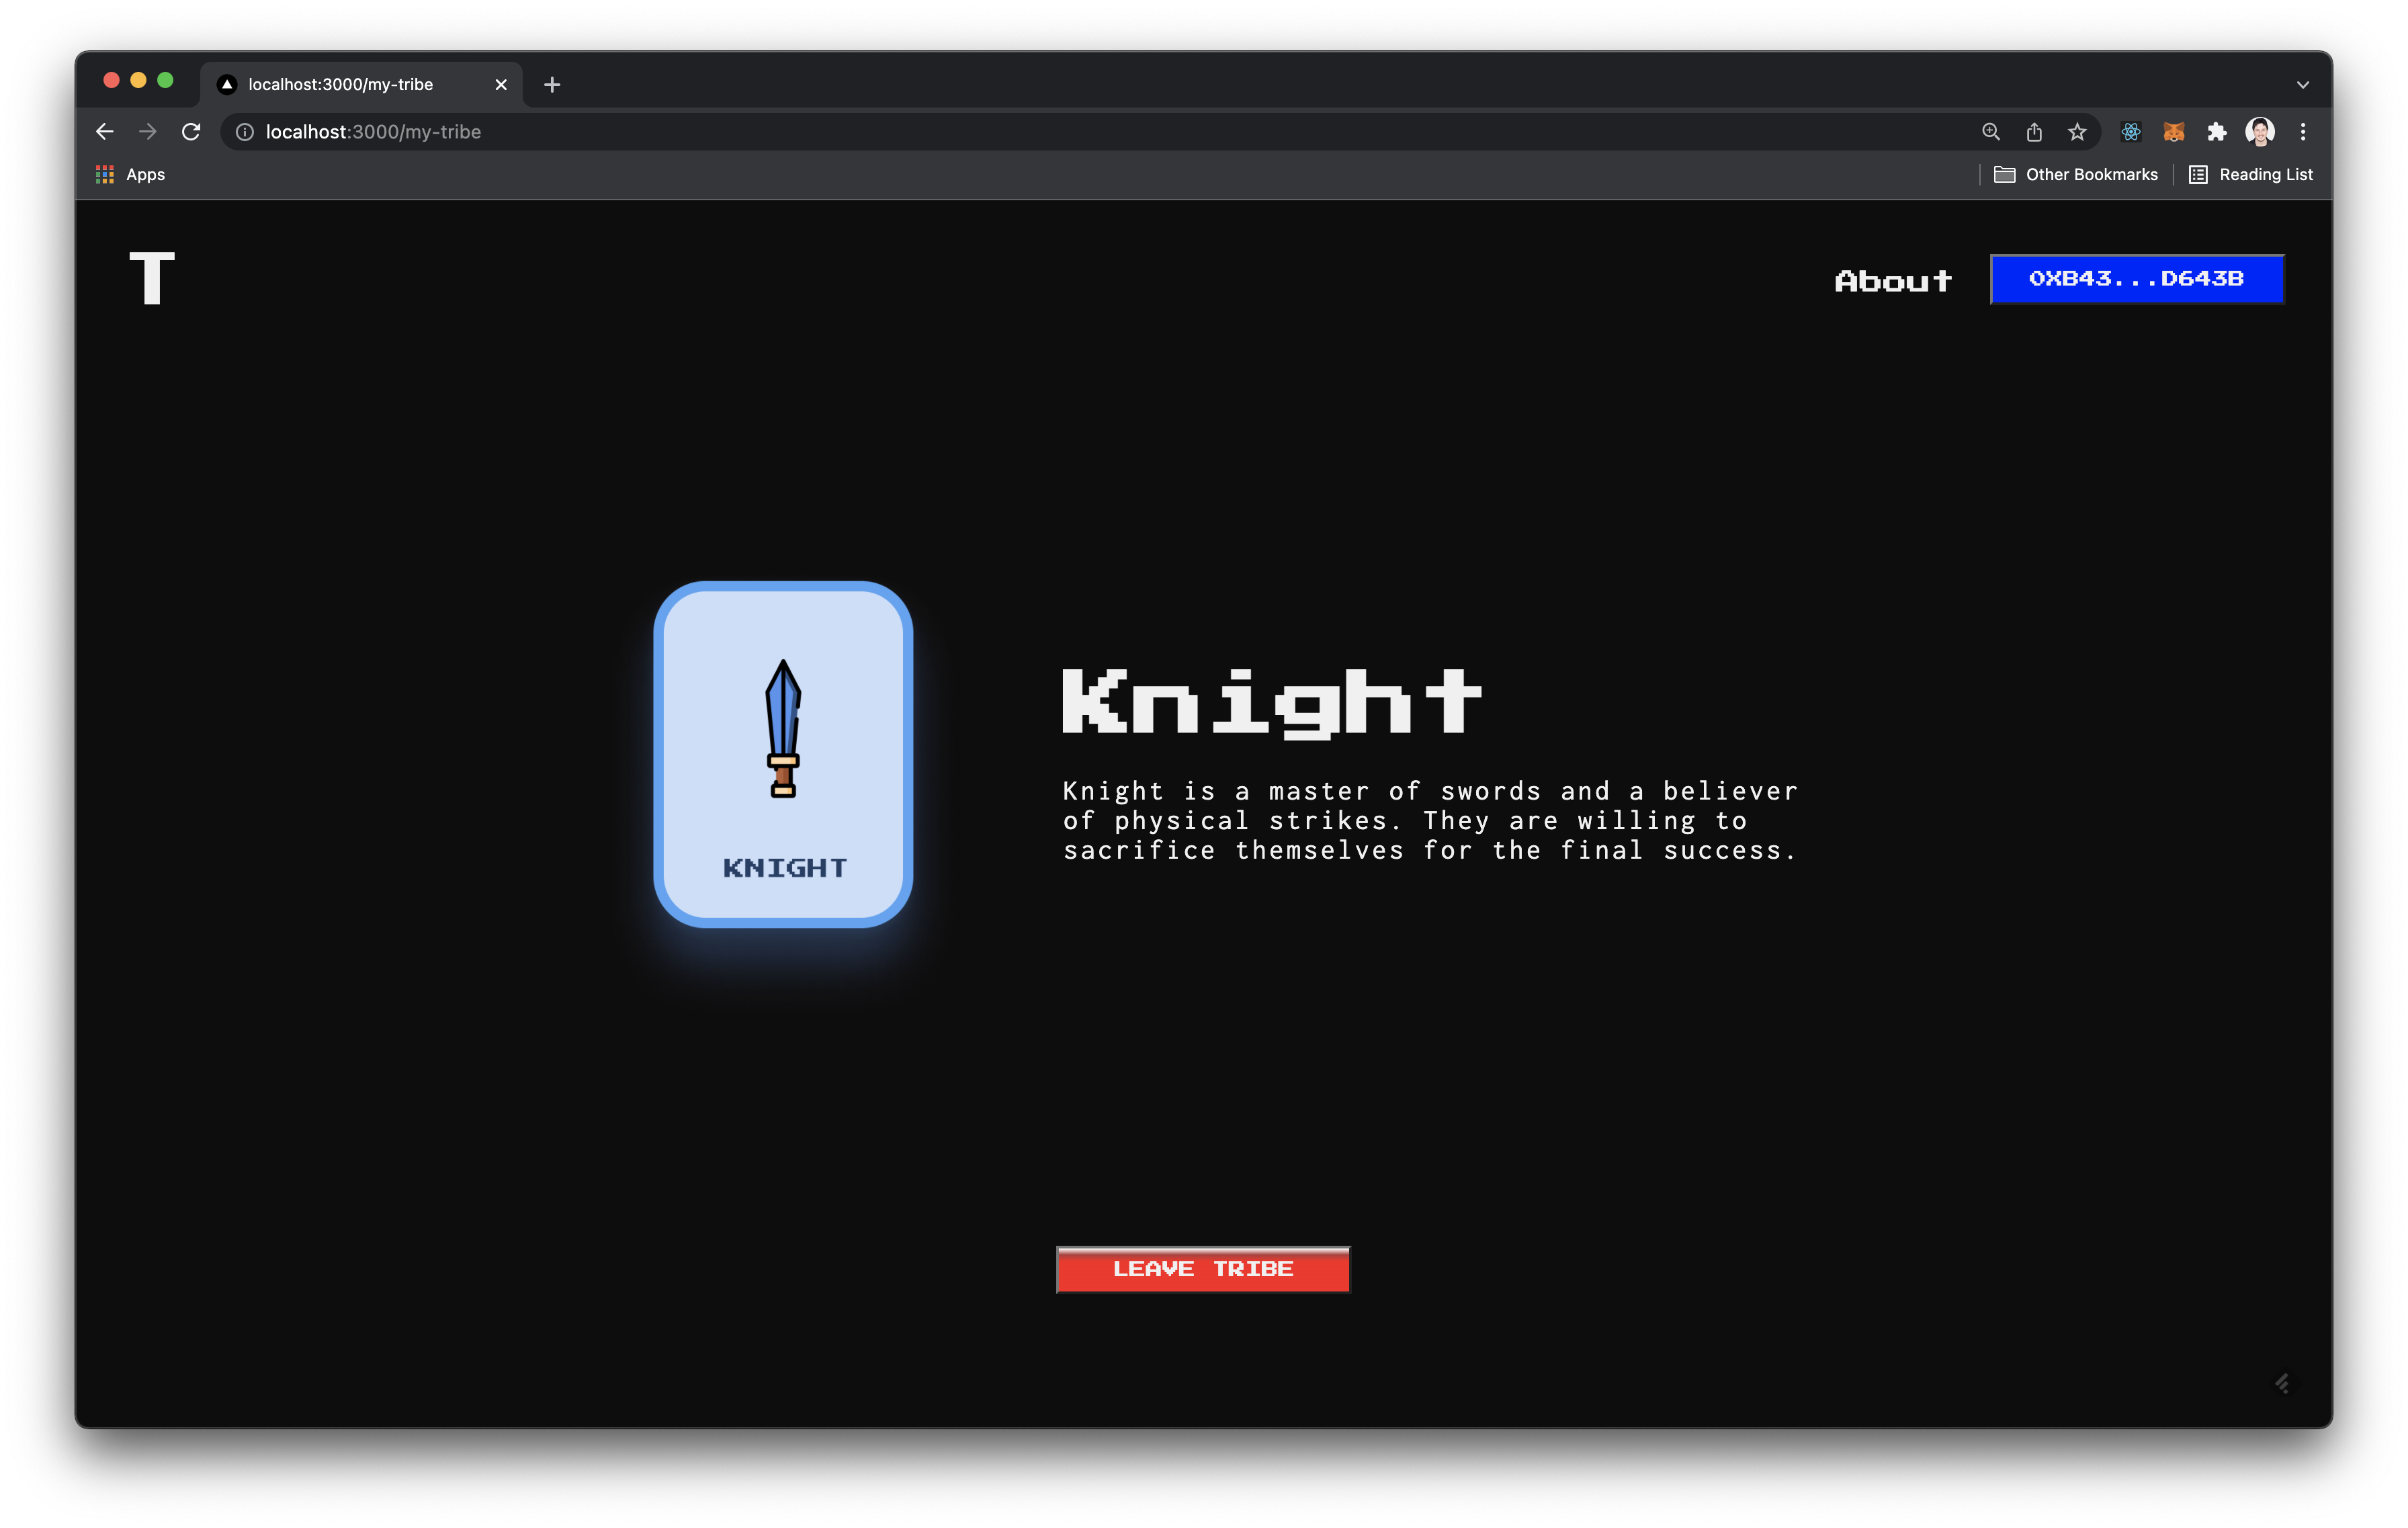
Select the Leave Tribe button at the bottom of the localhost:3000/my-tribe screen.
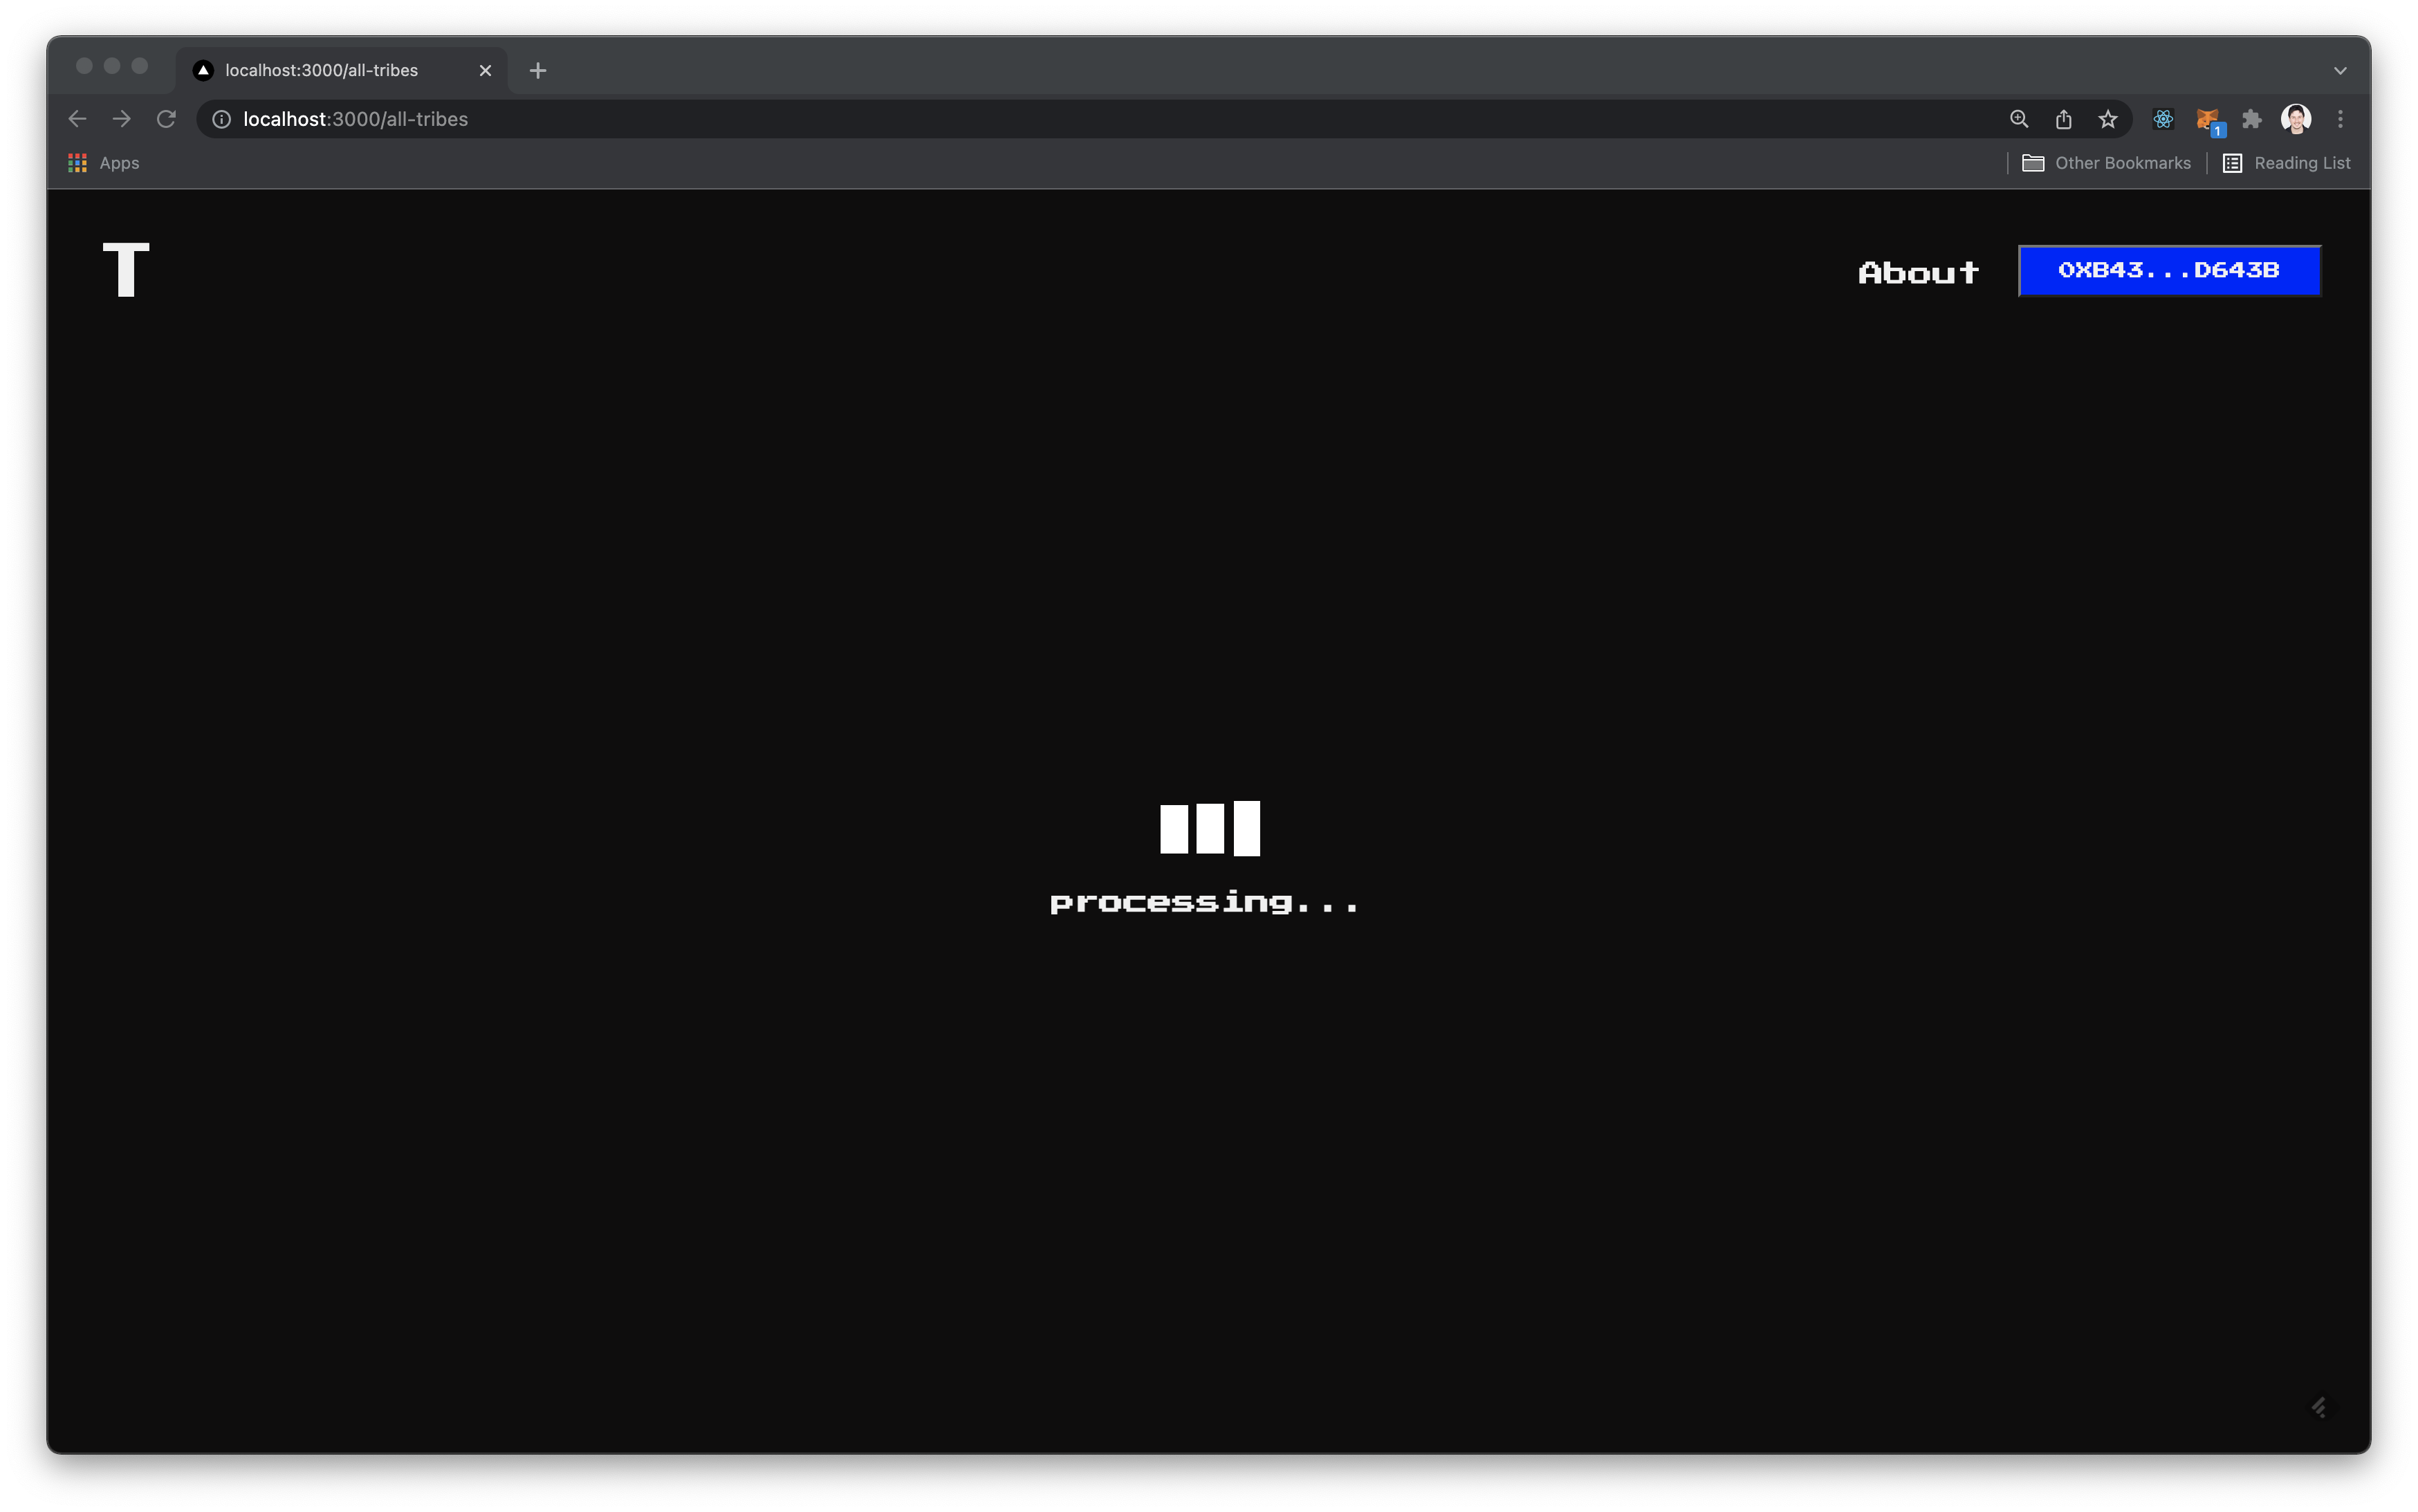
Confirm the transaction created by leaving the tribe and wait for the transaction to process.
You are now back at the Join a Tribe screen and can select a new tribe.
Add a Tribe
warning
Before creating a tribe, you should first create your own instance. Learn more
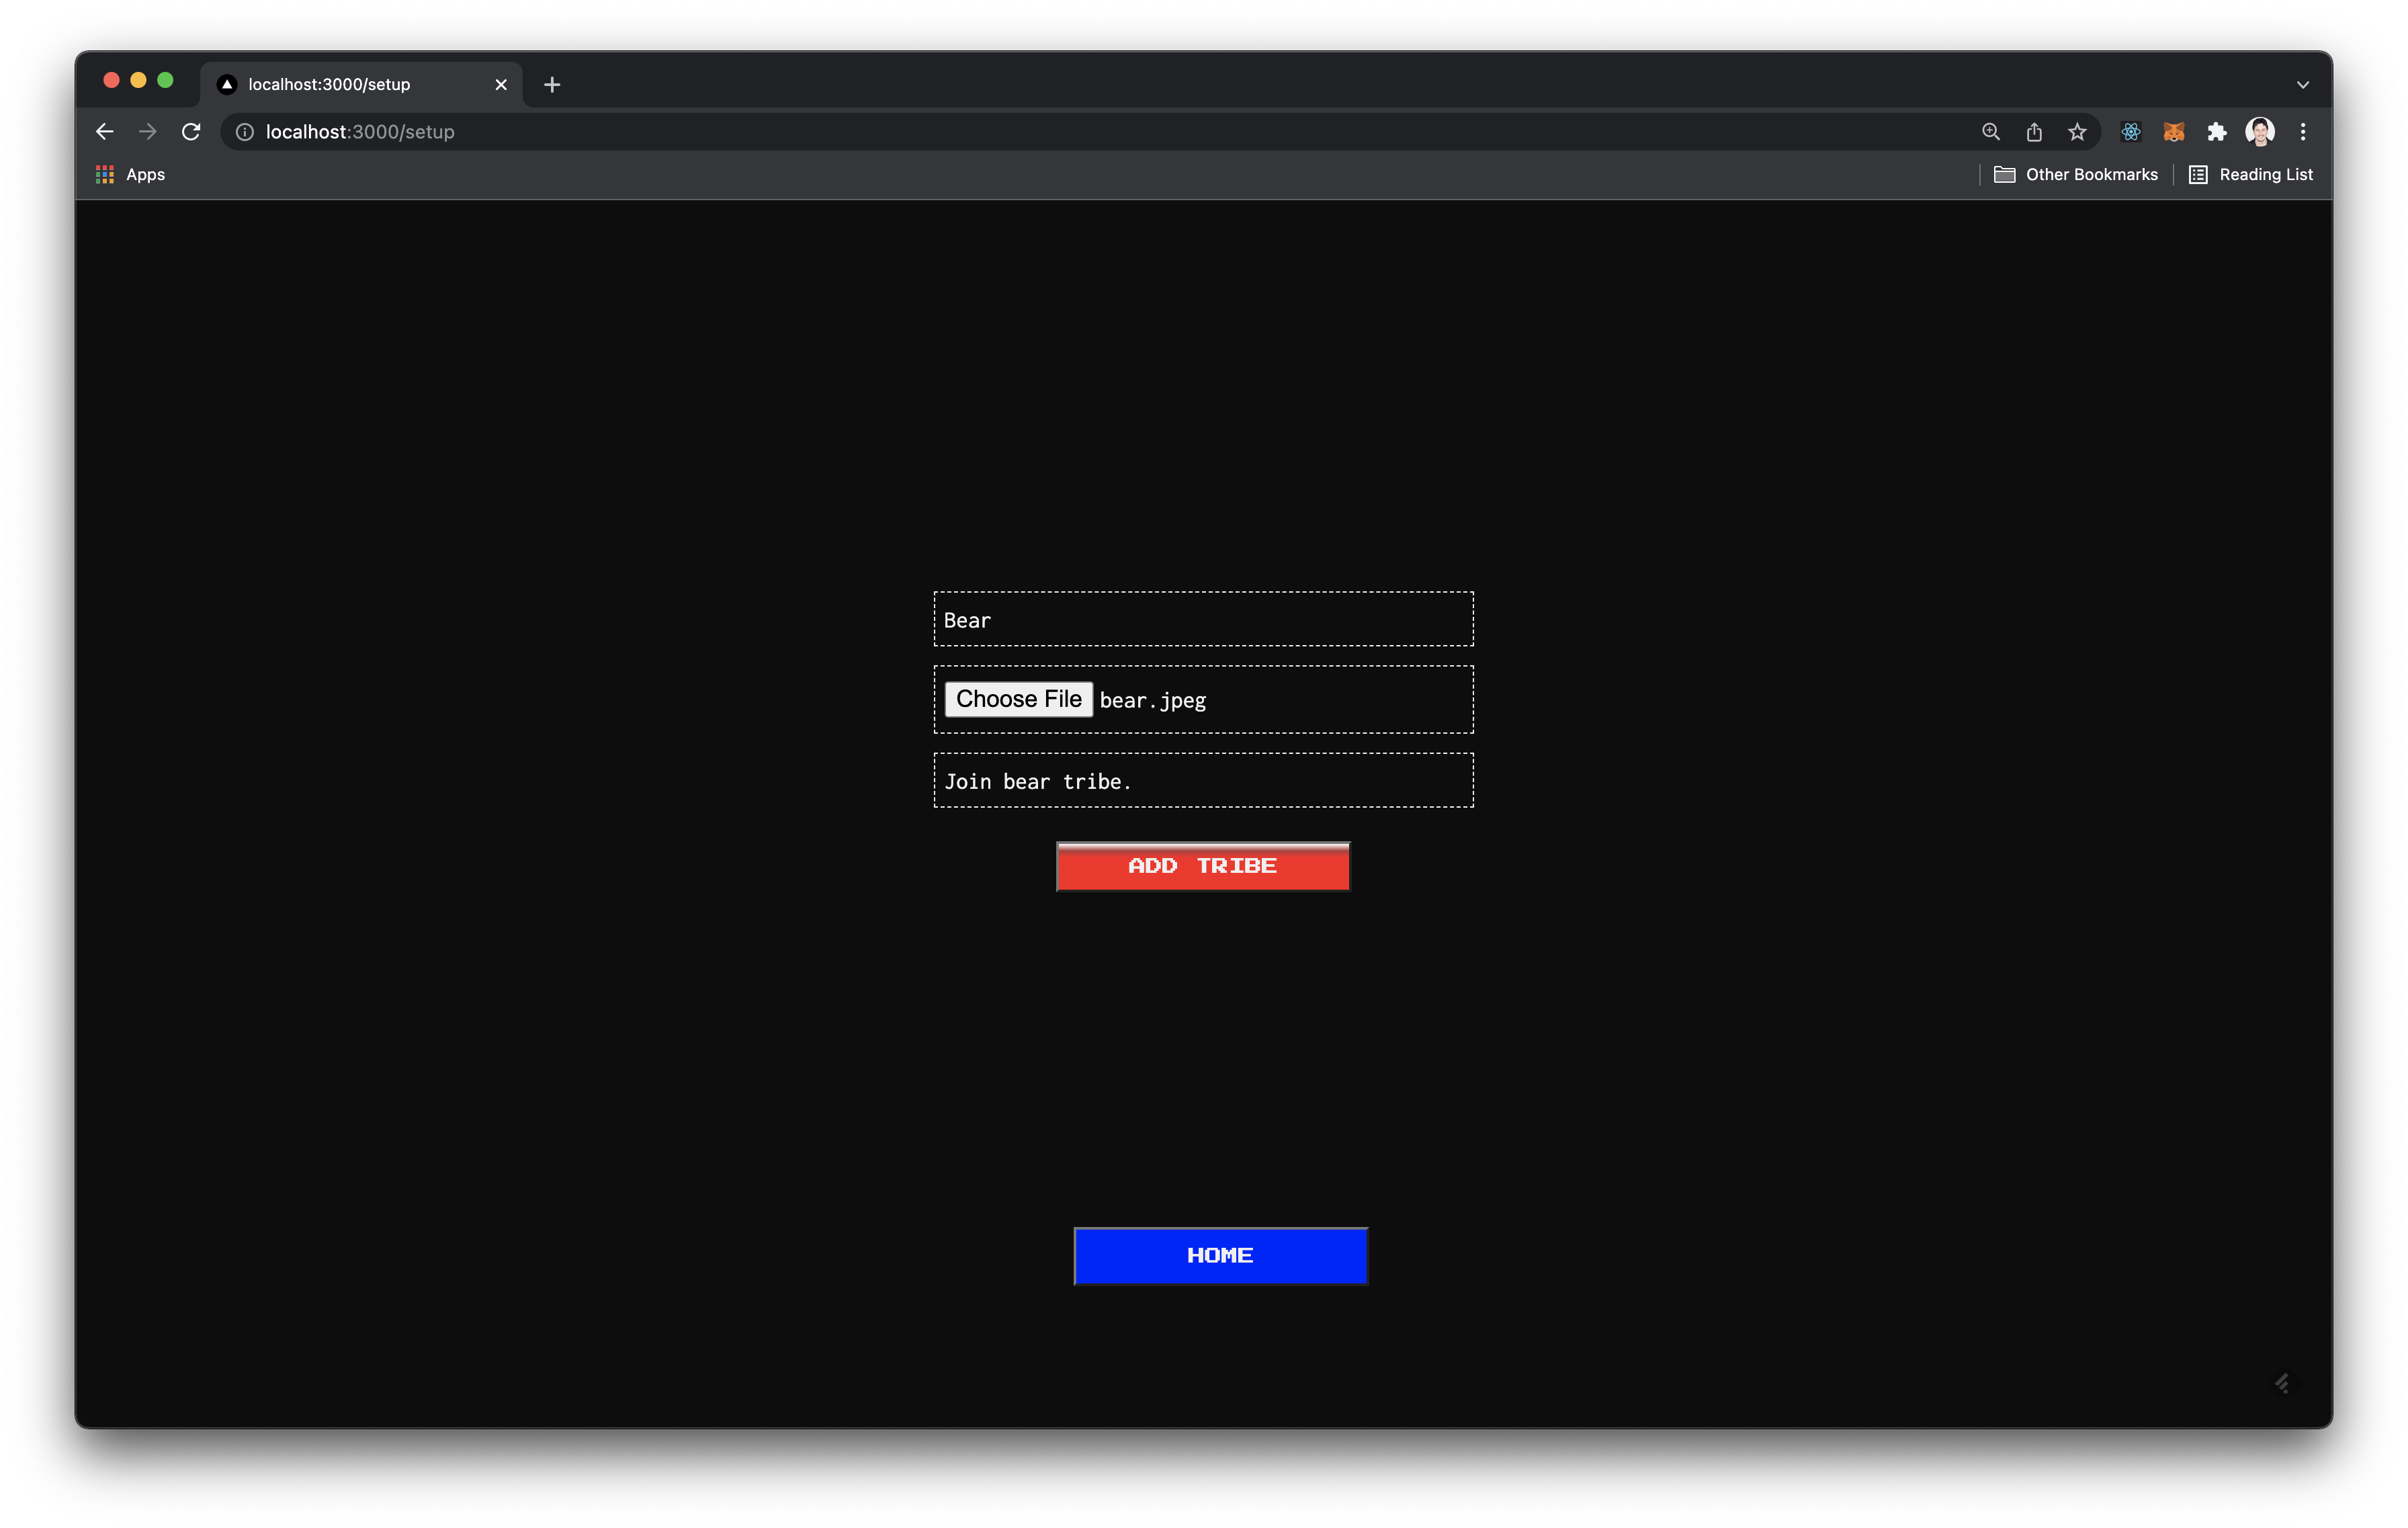
Navigate to localhost:3000/setup after creating your own instance. From here, you may add a name, image, and description for your tribe. After filling out the details of your tribe, select Add Tribe.
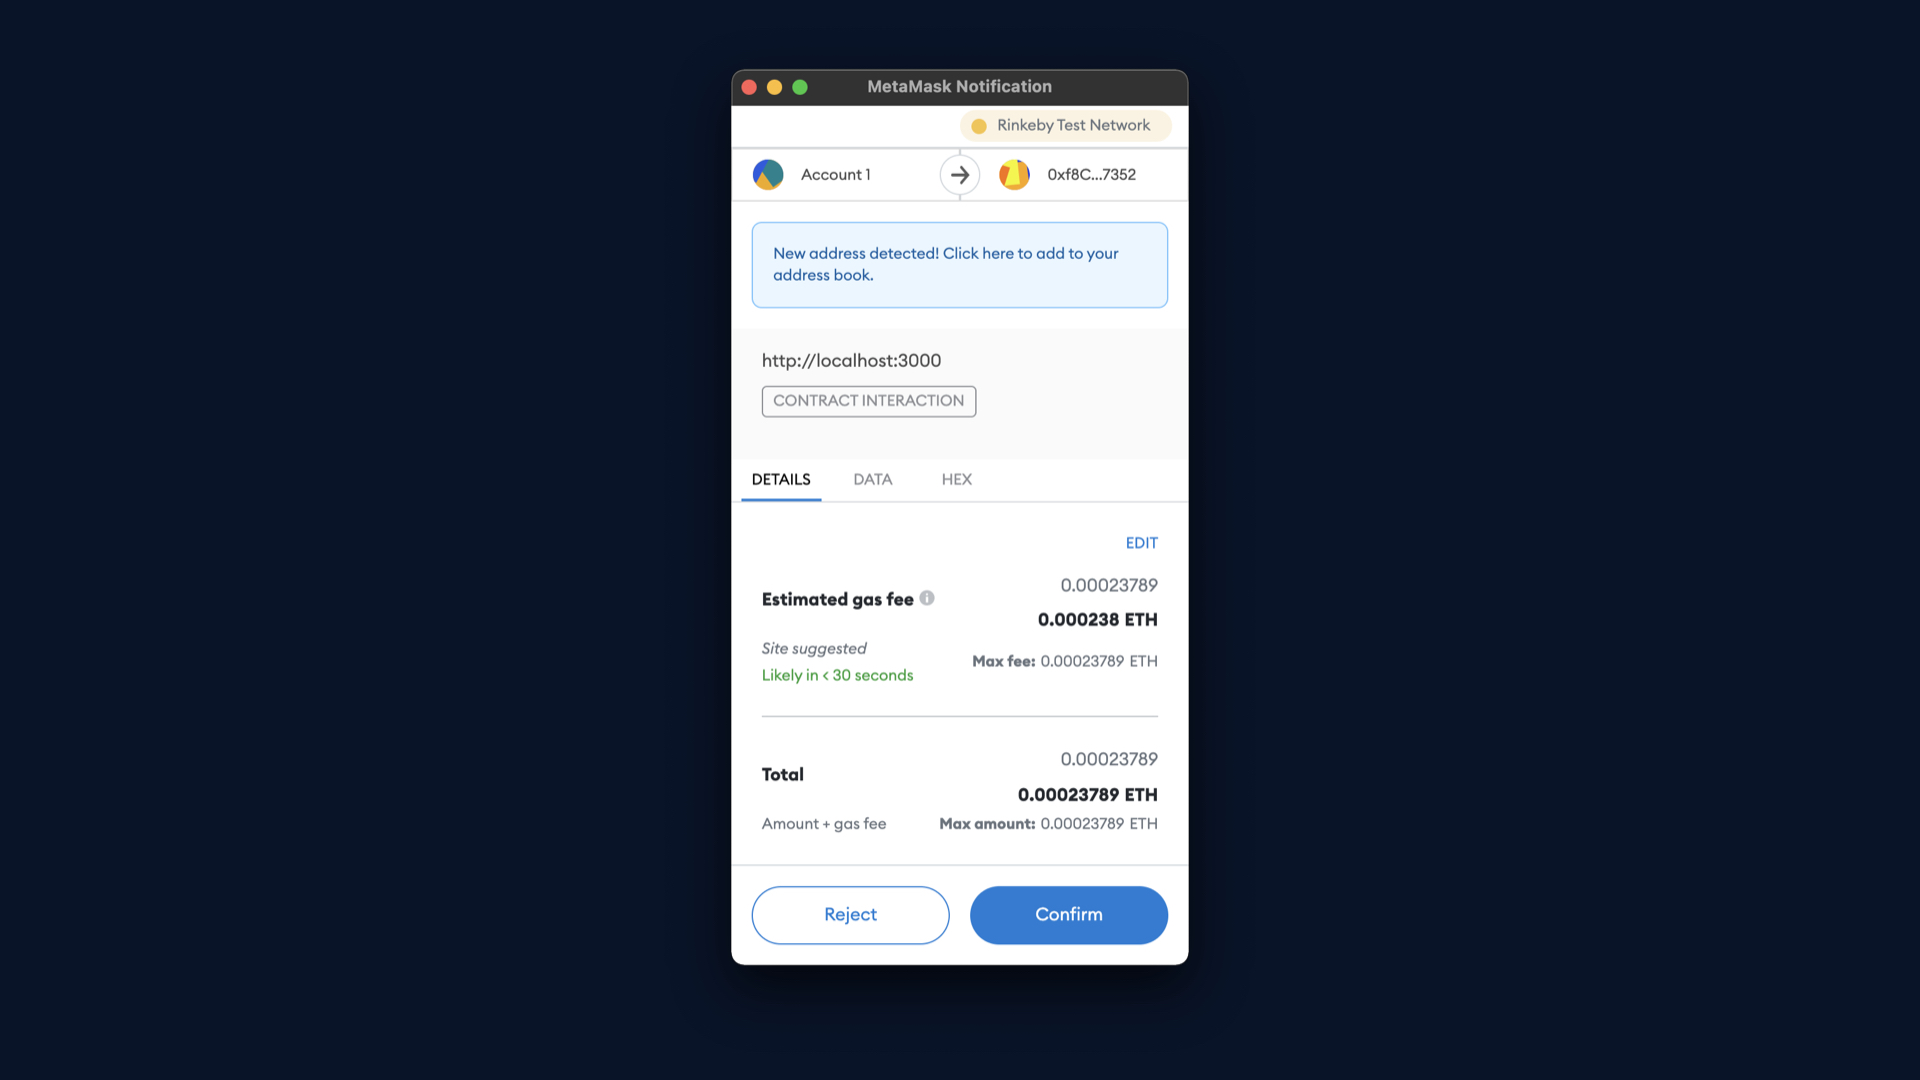
Confirm the transaction created by adding a tribe and wait for the transaction to process. You may create any number of tribes.
Repeat this process to add the details for any number of tribes you would like to include. Select the Home Button when you are done to return to the home screen.

From the home screen you may select Join a Tribe to join any of the tribes you created.
You should now see all of the tribes customized to match the details you provided.
